There are many reasons why you may choose to record a video call on FaceTime. Perhaps you are having a call with a loved one that you want to preserve forever? Or perhaps you are having an important call with your boss or a prospective new employer? Whatever your reasons for recording, doing so is very easy. Here’s how to screen record on FaceTime — with or without sound.
Read more: How to FaceTime on Android or Windows
QUICK ANSWER
To screen record on FaceTime on an iPhone or iPad, open FaceTime then head to Control Center and tap Screen Record. To also capture the audio, long-press on the Screen Record button and enable the microphone. On a Mac, open FaceTime then tap the keyboard combination CMD + Shift + 5 to open screen recording options. Select what you want, ensure your microphone is enabled, and click Record.
How to screen record on FaceTime, with or without sound
There are different FaceTime screen recording methods, depending on what device you are using. So we will naturally cover all of them.
iPhone and iPad
The thing you have to watch out for on an iOS device is that the audio is muted by default when you screen record. So if you forget this, you’ll end up with the call video but no matching audio. We’ll explain how to fix this in a moment.
The first thing to do is go to Control Center. You can get there by swiping down from the top right-hand corner of your screen.
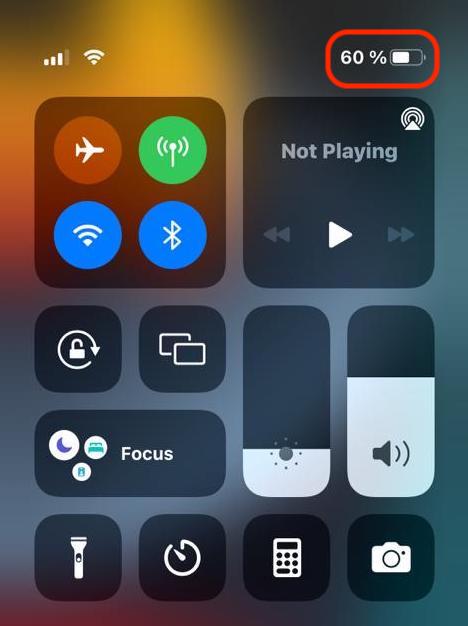
Now tap the screen recording icon to begin recording. If you don’t have the icon enabled, go to Settings–>Control Center and toggle it on.
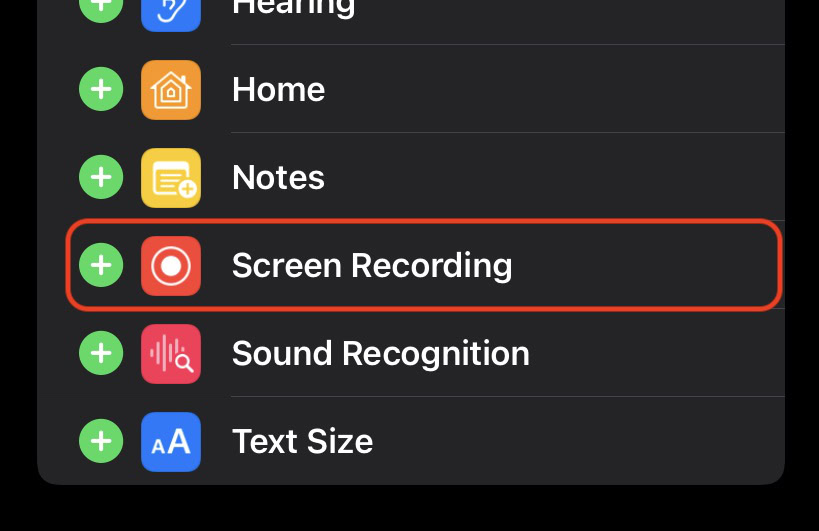
When you have tapped Screen Recording in Control Center, you will get a three-second countdown and the recording will then start. However, if you want to also capture the audio, you must long-press the screen recording icon in Control Center. That will bring up this screen. Tap the Microphone icon at the bottom and the audio will start to be captured.
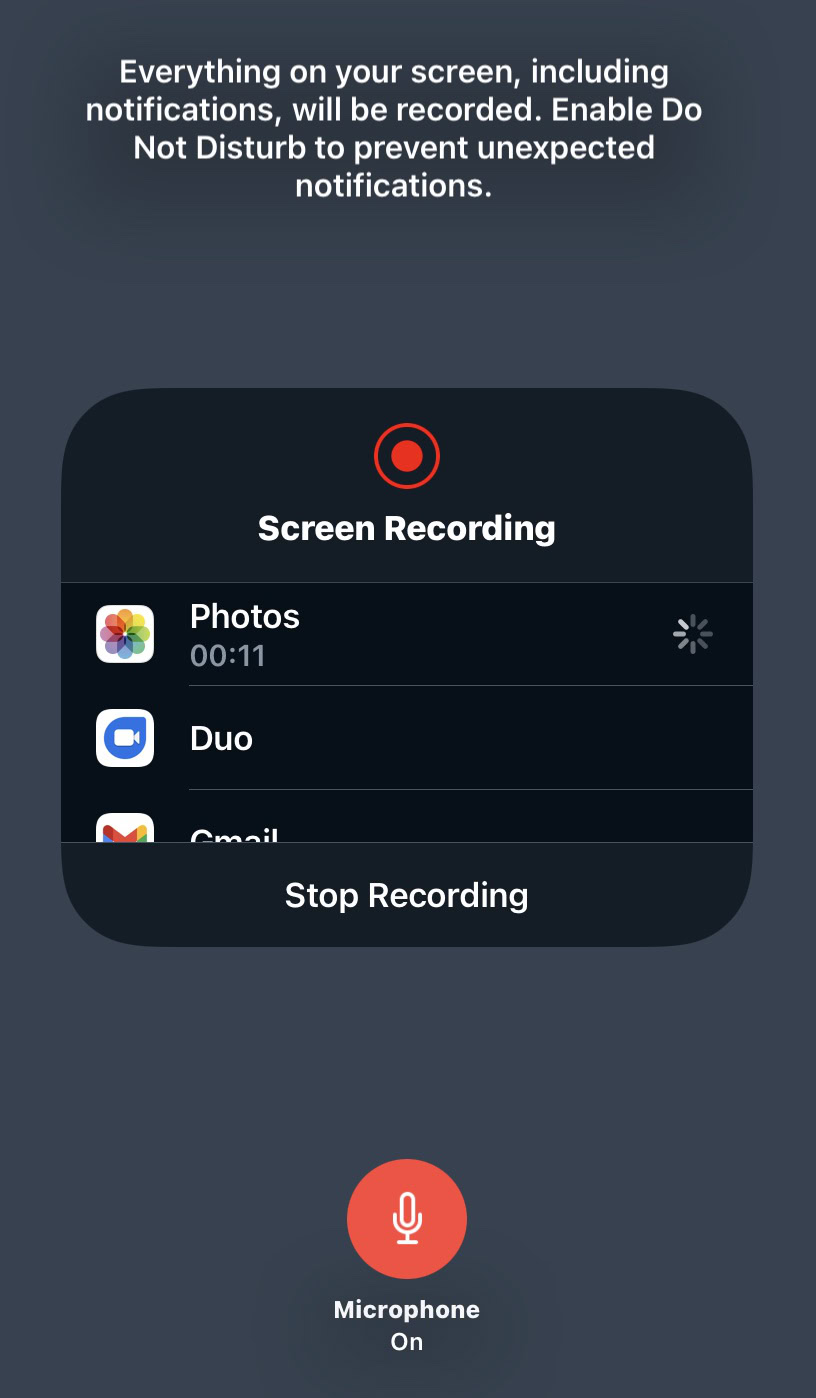
As the above screenshot points out, everything on your screen is going to be included in the recording — including notifications. Therefore, it would be best to enable Do Not Disturb to temporarily silence the notifications.
macOS
The macOS method is slightly different but no more difficult. First, open FaceTime and tap the keyboard combination CMD + Shift + 5. This will bring up the screen recording options at the bottom of the screen.
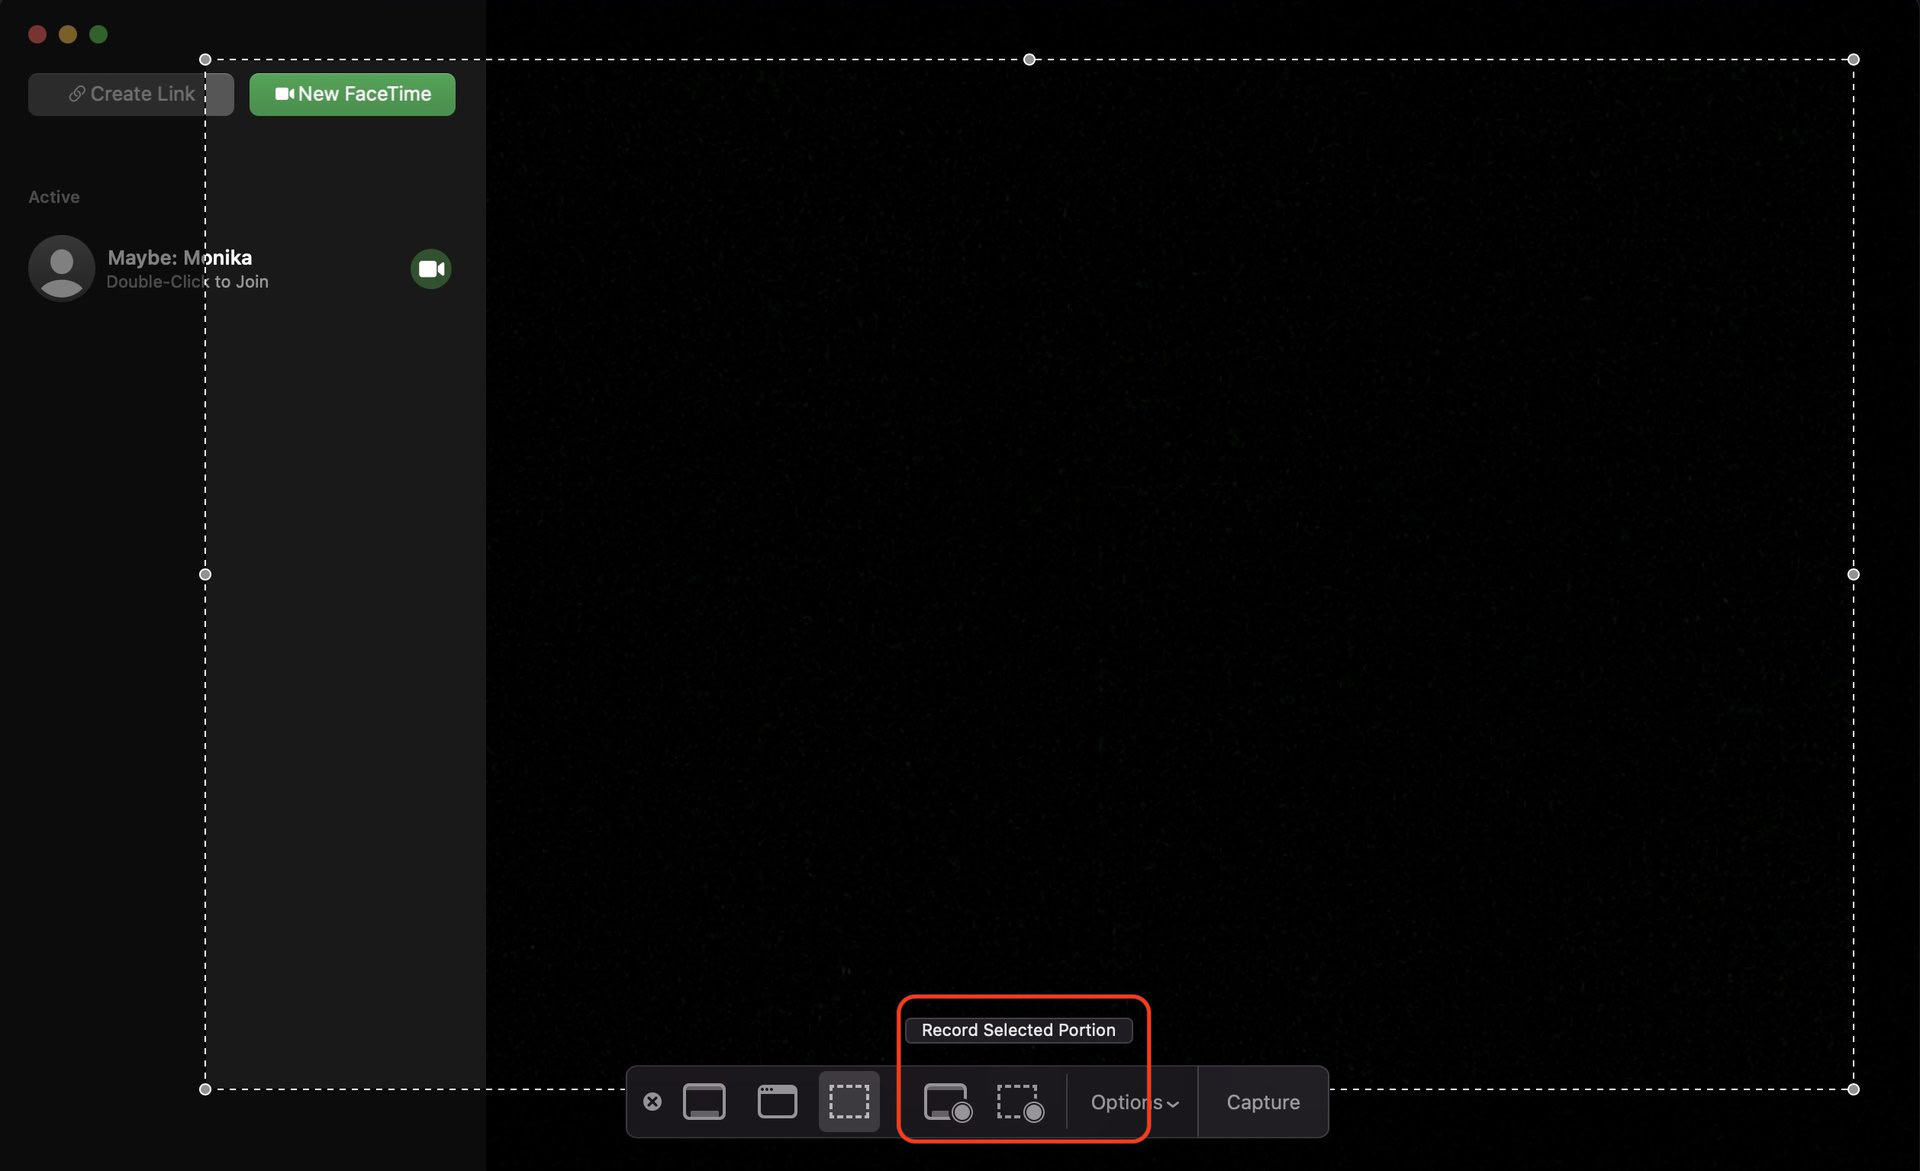
The one on the left is to record the entire Mac screen and the one on the right is to record a selected portion of the screen. If you choose this one, you will get a dotted draggable window which you need to resize to show what you want to be recorded.
Now click Options and choose a place to save the recording.
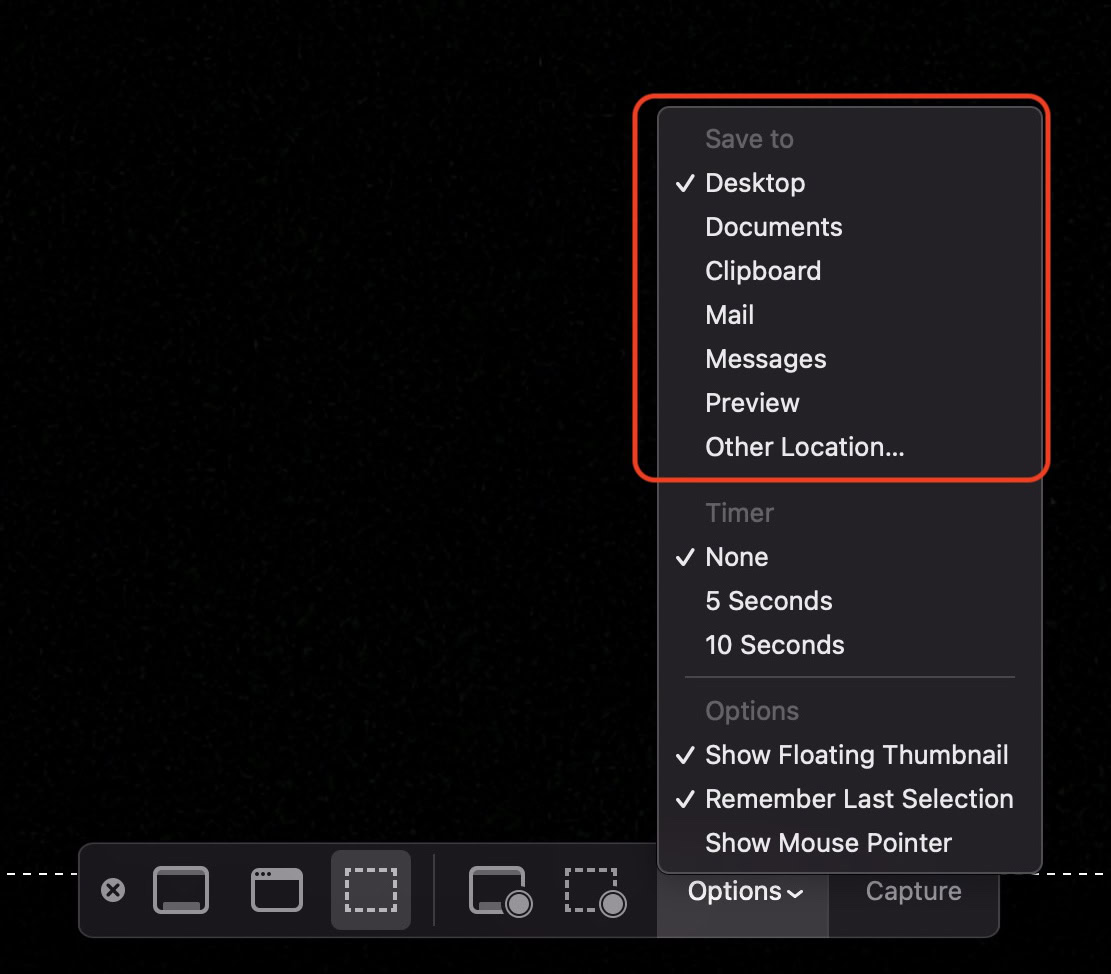
The Capture button at the end should now say Record. Click that to start the recording. Audio is automatically captured on the Mac, so there is no need for a separate process here.
Read more: How to share your screen on FaceTime
FAQs
No, the other person — or people — in the call are not informed that they are being recorded. In certain parts of the world, not informing them yourself is illegal, so be sure of your legal standing. At the very least, let them know the call is being recorded and give them the chance to leave the call.


