One of my favorite Canadian television shows, Murdoch Mysteries, recently returned for its 17th season. To watch it, I pulled out my Kubuntu Focus Linux gaming laptop, connected it to my LG C2 OLED, and went to fire up my VPN (virtual private network), only to realize I still needed to install it.
Perhaps, like me, you need to watch Netflix, Disney Plus, or another streaming service while traveling abroad. Maybe you want to bolster your online privacy. Whatever the reason, it’s worth using a VPN. Using a VPN lets you hide your location from your internet service provider (ISP) and services like apps or websites. For instance, I can comfortably be seated on the sofa in my living room in North Carolina, but using a VPN, apps and websites think I’m in Toronto, Canada (or another location based on the server you select).
On most platforms like Windows, macOS, iOS, and Android, setting up a VPN is pretty simple: Download an app and install it. However, on Linux, the configuration process isn’t as straightforward. While some VPN providers offer standalone apps, you may have to resort to changing your network manager settings or relying on a browser plugin.
Installing a VPN on Linux using your VPN provider’s app is the easiest method
If your VPN provider offers a Linux app, that’s the best way to run a virtual private network on your PC. You’ll enjoy the most features, such as switching servers quickly and picking which VPN protocol to use, like OpenVPN or Wireguard.
Thankfully, most of the major companies include helpful guides for getting started:
Some VPN providers, like Private Internet Access (PIA), offer downloadable files for installing Linux apps. Often, these will be a .run file, a shell script, or a .deb file, a software package installer for Debian-based operating systems like Ubuntu, Linux Mint, or Pop!_OS.
Here’s how to set up a VPN on Linux with a downloadable file:
- Head to your VPN provider’s website, navigate to the Downloads page, and download the installer that’s compatible with your Linux operating system (OS) and computer hardware.
- Open your terminal (CTRL + ALT + T on most Debian-based Linux distributions).
- Navigate into the folder where your file is saved (usually your Downloads directory): cd /home/[username]/Downloads
- Make the installer executable (note: If your file is a deb file, you can skip this step, and proceed to step 5, but this is required for scripts like .run or .sh files): chmod +x [filename]
- Run the installer: sudo ./[file name] for a script like a .sh or .run file, or sudo apt install [package name] for a .deb file.
- Launch your VPN, sign in with your account credentials, then start using your virtual private network.
Note that these steps might differ slightly based on your specific VPN provider; however, the process should be similar. Here’s what it looked like when I loaded up Private Internet Access on my Linux machine:
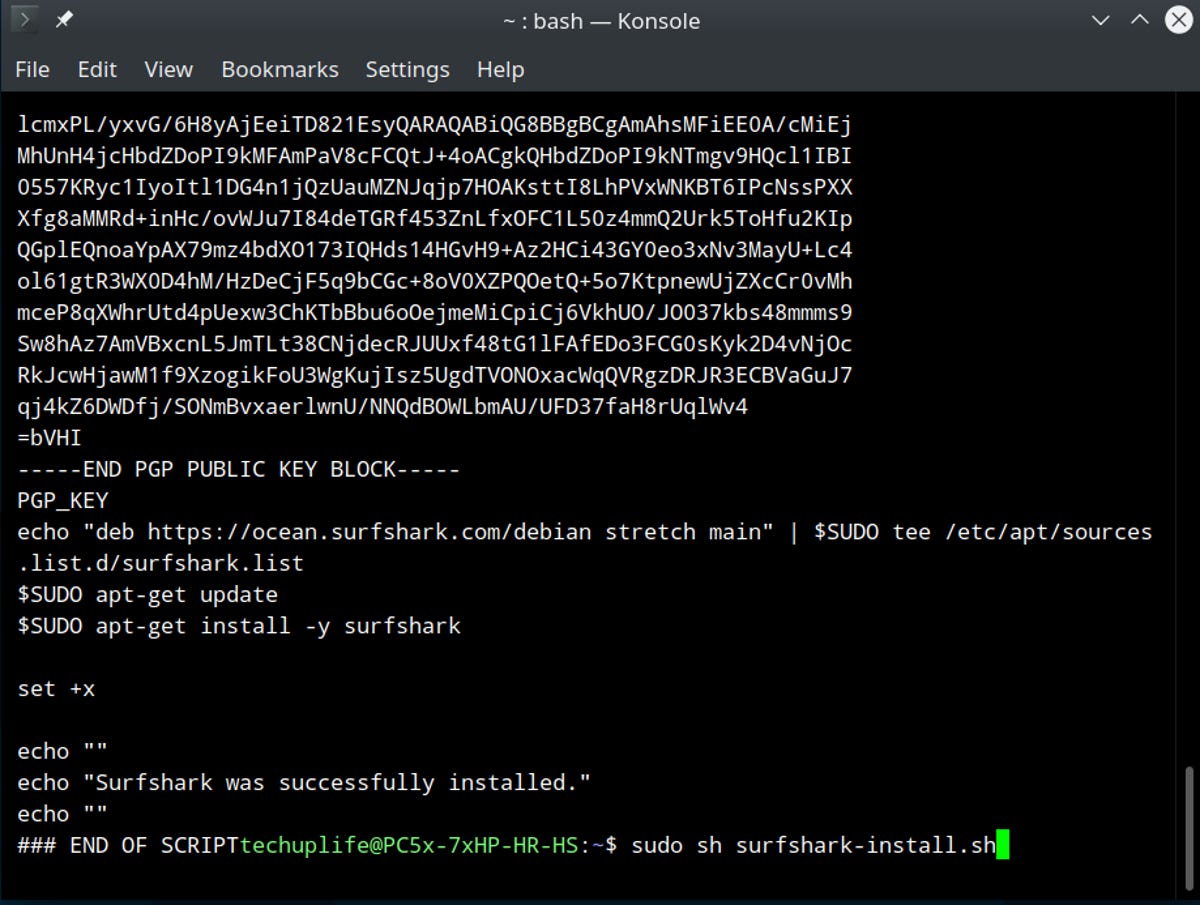
Downloading Surfshark’s Linux VPN app
- Launch a terminal window (CTRL + ALT + T).
- Copy the installation script and paste it into my terminal: curl -f https://downloads.surfshark.com/linux/debian-install.sh –output surfshark-install.sh
- Run the installation script: sudo sh surfshark-install.sh then follow the on-screen prompts.
- Open the freshly downloaded Surfshark Linux client app, log in, select a server location, and enable the VPN.
You can also install a VPN on Linux using your system’s network manager
While I recommend using the official Linux app from your VPN provider, assuming there’s one available, you can configure a virtual private network on your computer using a specific protocol, like OpenVPN or WireGuard. You’ll use a specific VPN protocol client like WireGuard and OpenVPN, or Network Manager. While using Network Manager or OpenVPN works, it’s more cumbersome and doesn’t give you the full slate of features as a standalone VPN client app from your provider.
For example, by installing Surfshark’s VPN app, I could switch between WireGuard and OpenVPN. Different VPN protocols offer various benefits. Generally, OpenVPN sports better security at the expense of connection speeds, while WireGuard is more balanced with excellent protection and minor speed loss compared to not using a VPN. But not all companies allow you to use their client app — IPVanish’s Linux instructions all hinge on OpenVPN.
To configure a VPN on Linux using your network manager:
- Open Connections.
- Click the plus (+) sign.
- Select your preferred VPN protocol, typically OpenVPN or WireGuard.
- Enter the correct information based on your VPN provider.
From there, you can change several fields:
- Connection name: You can use anything, but I recommend setting this as your VPN provider, i.e., NordVPN, IPVanish, etc.
- Gateway
- Connection type: TLS, Static Key, Password, Password with Certificate (TLS)
- User name
- Password
Depending on which connection type you select, you may have even more fields. You’ll need to check your VPN provider’s website to see the correct information to input in the various boxes and obtain certificates.
VPN apps with a GUI on Linux are great for beginners
Many VPN providers only offer Linux command line interface (CLI) apps. Although the command line isn’t necessarily tricky, a visual interface is easier to navigate for Linux beginners. Additionally, a graphical user interface (GUI) provides features like the ability to pick your favorite servers, quickly turn your VPN connection on or off, and easily navigate into your settings. Surfshark and Private Internet Access (PIA) are two of our favorite VPN providers with Linux GUI applications.
That’s not to say a CLI VPN app is challenging to use, but it’s not as intuitive — especially for folks new to Linux — since you’ll need to enter the proper commands to perform essential functions like changing servers and turning your VPN on or off. With NordVPN, for example, you’ll need to remember the proper Linux app commands to enter to connect, disconnect, change servers, enable kill switches, and perform other functions. Or, if you’re me, look up commands each time because you don’t recall them off the top of your head.
Luckily, they’re mostly pretty simple; nordvpn login logs you in, nordvpn connect / nordvpn c connects you to VPN servers, and nordvpn set killswitch on enables its kill switch. Similarly, with ExpressVPN, you’ll connect using the command expressvpn connect. Using expressvpn list in a terminal window shows a list of recommended server locations, and you can pick a specific location using expressvpn connect “[country – city]”. As you can see, most terminal commands aren’t too tricky, but you might have to consult help documents for the VPN you’re using for the full library of options.
Other ways to run a VPN on Linux
Using your VPN provider’s Linux app — either with a GUI or CLI — gives you a great experience. However, you can also use a browser extension. A standalone VPN app provides comprehensive protection for all applications on your computer — from your Chrome web browser and Steam game client to Spotify. If your VPN has split tunneling, you can even choose which apps use a VPN while it’s enabled and which don’t. So you could use your VPN to access Netflix libraries from the UK while installing a game from Steam outside of your VPN to avoid that pesky two-factor authentication email from Valve and faster download speeds.
On the other hand, a browser extension only protects web traffic through your browser. So if you’re watching Netflix, streaming Spotify, and reading articles on your favorite websites (it’s CNET, right? RIGHT??), in a browser, that’s routed through your VPN. But downloadable apps for Spotify, Netflix, and other services aren’t. In this way, a browser extension is similar to split tunneling in that only some traffic is protected. But where split tunneling allows you to use your VPN for various apps, extensions only work with whatever’s in that specific web browser.
Ultimately, if you’ve got the option to use a VPN client app, you’ll get the most functionality. A browser extension is pretty easy but less comprehensive than a standalone VPN application. And using the network manager on your Linux OS works well enough but makes switching VPN protocols more cumbersome.