Major tech companies will try just about anything these days to keep you inside their ecosystem, and Meta is no exception. One of the company’s quieter efforts along those lines is Meta Pay. In this guide we’ll explain the platform, and help you set it up if you’re interested in taking the leap.
JUMP TO KEY SECTIONS
What is Meta Pay and how does it work?

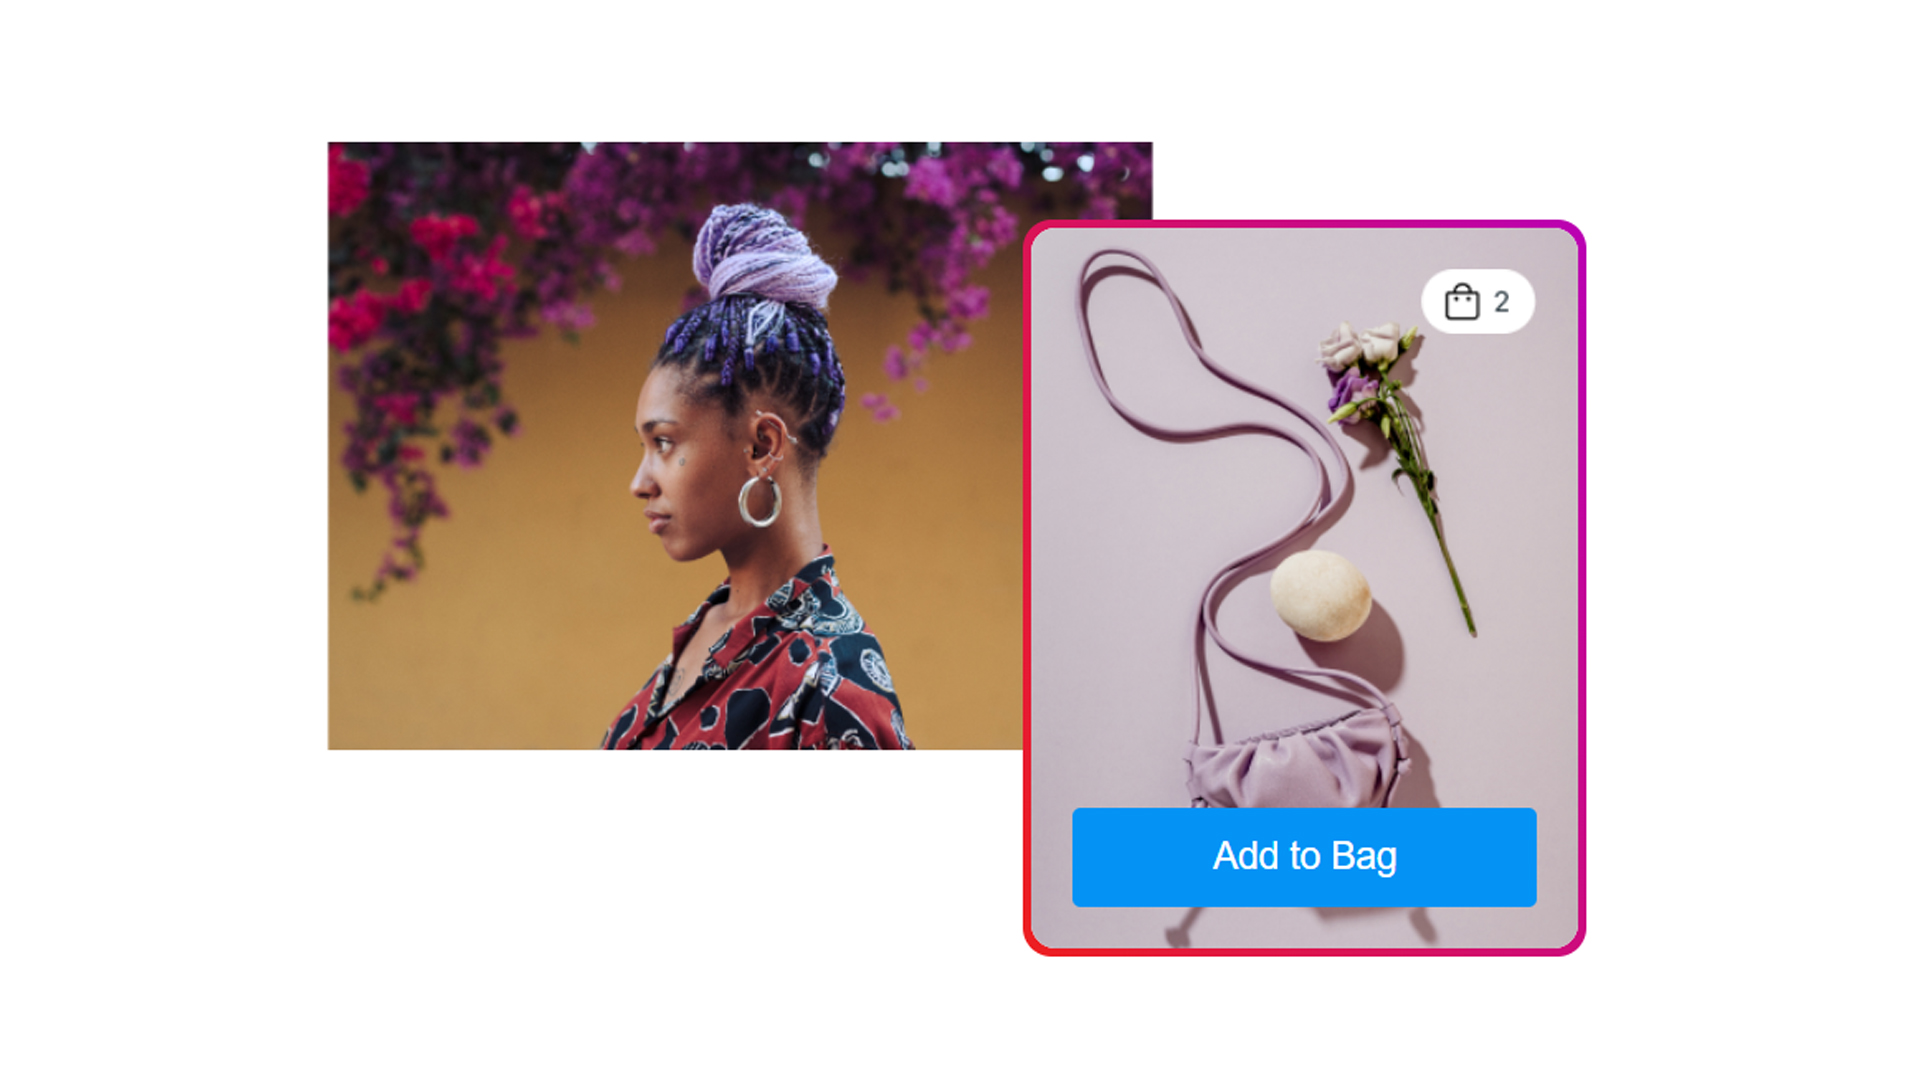
Meta Pay lets you link a payment card or account to Facebook, Instagram, WhatsApp, and/or Facebook Messenger so you can make quick transactions inside those services without using a web link or switching to a separate payment app. Those transaction types can include not just purchases but things like donations (say, to amedical fundraiser) or subscriptions (e.g. to something on Facebook Watch). In Messenger, you can send and receive personal transfers.
Note that while Meta Pay supports a variety of payment methods including debit cards, credit cards, and PayPal, you’ll have to check if your preferred method is supported in your region. In most countries, Meta Pay is also limited to Facebook — only a subset can use it in Instagram, and as of this writing Messenger compatibility is limited to the United States and Thailand. A single country, Brazil, has the feature in WhatsApp.
Is Meta Pay safe to use?
The technology itself should be relatively safe, since info is encrypted, and card numbers are stored separately from your profile data. Meta also has systems in place to detect fraud, and you have to log into Pay using a PIN or your device’s fingerprint or facial recognition options. You can report unauthorized transactions to Meta’s customer support team via email or live chat (more on that in the FAQ).
Your main point of concern should be scams. Being so popular, Meta’s platforms are a frequent target for scammers, and the company seems to have a hard enough time keeping the situation under control without bringing instant payments into the mix.
Before spending on anything using Meta Pay, think skeptically. Try to verify the authenticity of the account asking for money, and even if an account is legitimate, its owner(s) could still be pulling a scam — for instance, promising faith healing or political action that never materializes. More likely you’re going to run into things like counterfeit goods, fake romances and charities, and get-rich-quick investment schemes.
Remember that if something sounds too good to be true, it probably is. If you’re especially worried about scams, limit transactions to people and businesses you’re closely familiar with.
How to setup and use Meta Pay

Edgar Cervantes / Android Authority
Since we at Android Authority don’t have anyone based in Brazil, we’re going to limit out instructions to Facebook, Instagram, and (by extension) Facebook Messenger. Note also that if you complete setup via Facebook, you’ll have the option of connecting Meta Pay to Instagram in supported countries without running through setup a second time.
On the Facebook website
- Click on your profile picture.
- Choose Settings and privacy, then Settings.
- Go to Payments > Meta Pay. Menu labeling may vary for this step.
- Add payment methods. You’ll need at least one to make a transaction, and you’ll have to verify them all, possibly using government ID. Note that if you want to use Meta Pay in Messenger (where supported), you’ll need PayPal or a debit card.
- Set up a PIN. You may have the option of skipping this step, but we strongly recommend using a PIN as a way of deterring hackers or people who get their hands on your devices.
In the Facebook app for Android or iPhone
- Tap the triple-line (Menu) icon.
- Navigate to Settings and Privacy, then pick Settings.
- Go to Payments, then tap Meta Pay.
- Use menu options to add one or more payment methods and create a PIN.
In the Instagram app
- Tap on your profile icon in the bottom-right corner.
- Next, tap on the triple-line (Menu) icon in the top-right.
- Choose Orders and Payments.
- Use menu options to add one or more payment methods and create a PIN.
FAQs
If someone sends you money via Facebook Messenger, it’ll be accepted automatically so long as you’ve added PayPal or a debit card to Meta Pay.
In many circumstances yes, but if you’re receiving money via Messenger, it can take up to 3 business days for the cash to become usable. If a friend sends you money on Friday night, for example, it could be as late as next Wednesday before you’re able to spend it. It could easily show up earlier, but don’t assume it will.
Yes, there’s a Purchase Protection system for some shopping transactions. You’ll have make a claim, but if it’s accepted you should get a refund in full or in part. In some situations, Meta may offer a goodwill refund that you wouldn’t otherwise qualify for.
The operative word here though is “shopping.” Donations and person-to-person transactions aren’t eligible.
If you have a problem with a transaction, the easiest way is to go to Settings and Privacy > Settings > Payments > Meta Pay > Activity on Facebook’s website, select the transaction, then choose Get Help with this Payment > Contact Us. You’ll be given the choice of email or live chat. Alternately, there’s a web form for unknown or unauthorized charges.


