The Raspberry Pi 5 arrived with the potential promise of compatibility with NVMe solid state storage, specifically M.2 SSDs. However, this feature was not immediately available upon its release. The Pi 5’s access to a PCI connector made this possible, but official Raspberry Pi solutions are still unavailable. Nevertheless, third-party solutions have emerged. In this article, I explore the NVMe Base by Pimeroni, which allows you to connect an M.2 NVMe drive to your Pi 5 and boot from it, effectively saying goodbye to SD cards.
SD cards or NVMe drives?

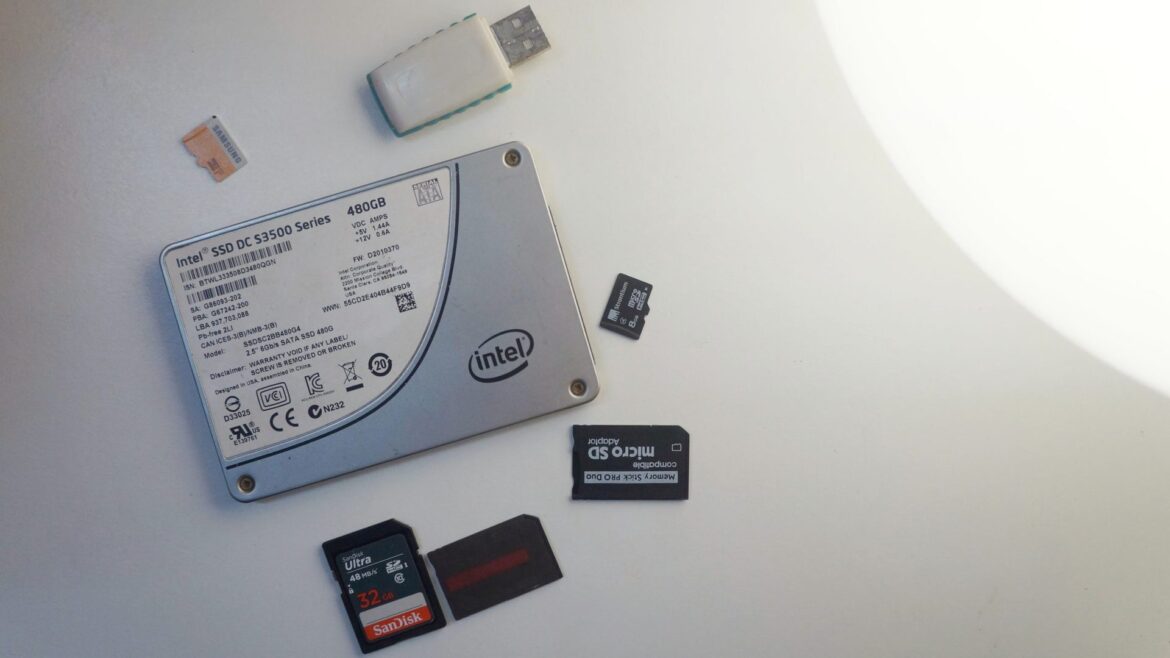
Calvin Wankhede / Android Authority
SD cards have advantages: they’re relatively cheap, easy to acquire, and flexible. You can try one operating system on your Raspberry Pi for a specific project, swap out the cards, and try another. However, they do have some drawbacks, speed being one of them. Although the Raspberry Pi 5 has a much greater SD card read speed than previous generations, some users are concerned about their long-term reliability.
Using an NVMe drive, we can employ a proper SSD, similar to what we might use in a laptop or desktop. This offers significant improvements in speed, potential improvements in reliability, and definite improvements in storage capacity. With the NVMe Base from Pimeroni, you can connect an M.2 solid state drive to your Raspberry Pi.
How to install an NVMe drive on the Raspberry Pi 5

The NVMe base is a card that attaches to the bottom of the Raspberry Pi, unlike the hats that go on top. It uses a small ribbon cable to connect from the base plate to the Raspberry Pi 5’s PCI connector. Assembly is fairly straightforward, though connecting the PCIe cable can be tricky.
Regarding software, the easiest method is to boot up Raspberry Pi OS using an SD card on the Raspberry Pi 5. You then install the Raspberry Pi imager on the Raspberry Pi 5 and instruct it to write the OS to the NVMe drive. You’ll also need to ensure you have the latest bootloader firmware installed and change the boot order in the Raspberry Pi config program. Once you’ve booted up with your new NVMe drive, you can enable faster PCIe Gen 3. While not officially supported, it seems to work well.
Check out the video above for even more detailed info.
Should you install an NVMe drive on your Raspberry Pi?
So, is it worth it? Does it offer anything beyond the potential for larger storage and increased reliability? The answer depends on your usage. Booting from an SD card takes about 19 seconds while booting from an NVMe takes about 15 seconds. Launching an application like Firefox takes five seconds on an SD card and four seconds on the NVMe.
Compiling a project like HTOP takes precisely 6.3 seconds on both systems, indicating that compiling is more of a CPU and memory bottleneck rather than an I/O bottleneck. However, the NVMe drive significantly outperforms the SD card for disk-intensive tasks.
If you’re performing lots of I/O intensive operations, an NVMe drive is necessary. For example, it would be a great solution for network attached storage. However, if you’re using your Pi 5 for less demanding tasks, such as robotics, sensors, GPIO, or learning Python, investing in an NVMe drive might not be essential. Adding NVMe storage to your Raspberry Pi is a fun mod for some applications, but it’s not a necessity.