If you’ve seen artistic photos of waterfalls or rivers, then you’ll no doubt have seen long-exposure shots where the water is intentionally blurred to look silky-smooth while the surroundings — the rocks and trees — remain pin-sharp. It’s a great technique to give the impression of motion in a still image and it used to be something you’d need a DSLR with filters and a tripod to take. But a neat feature built right into the iPhone’s camera lets you take shots that look just as good. You don’t even need the latest iPhone 15 Pro or Pro Max to take advantage of this feature. It works on any iPhone launched after the iPhone 6.
Read more: Take Your Best-Ever Photos With Your iPhone
The technique uses Live Photos, a feature that turns a still image into a short animation by recording a few seconds of video when you fire the shutter. By analyzing which objects are moving, the iPhone captures the movement and blurs it. It’s also able to recognize what isn’t moving (a rock or a wall, for example) and attempts to keep those objects sharp and in focus. This lets you capture long-exposure images in even bright midday sun without using a tripod or filter. Take that, DSLRs.
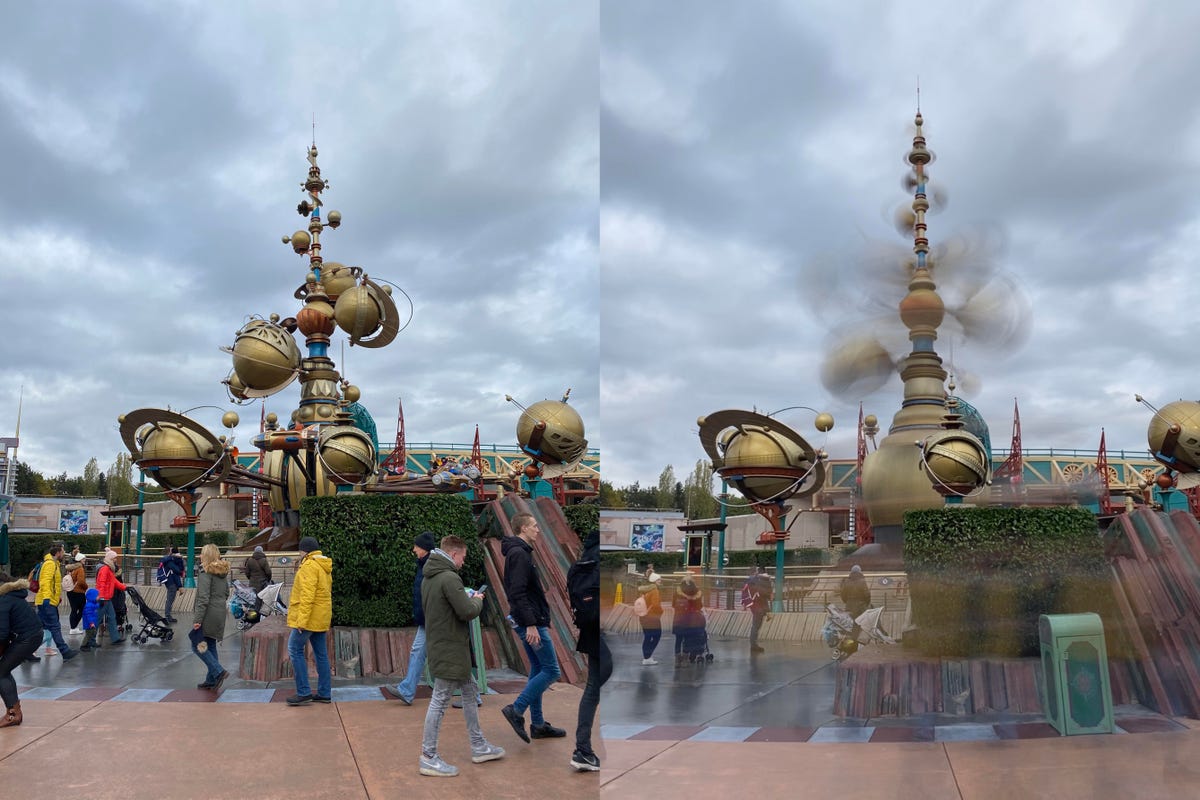
The standard shot (left) looks like any old snap from a Disney park. But a long exposure (right) transforms it into an ethereal image that really shows off the movement in the scene.
You can also try busy city streets. The long-exposure effect keeps the buildings and roads sharp and fixed in the image, but the people walking all around will be blurred into ghostly figures, which looks atmospheric and dramatic.
Turn on Live Photos
Getting a long-exposure image requires the movement that’s recorded in a Live Photo, so it’s critical that that mode is activated when shooting. It’s located in the top right of the screen in the camera (when held in portrait orientation) or the top left (in landscape orientation). You’ll see an icon of two circles surrounded by a third dotted circle. If there’s no line through it, then Live Photos is activated. If there’s a line through it, tap the icon and you’ll see the message “Live” appear onscreen in a little yellow box.
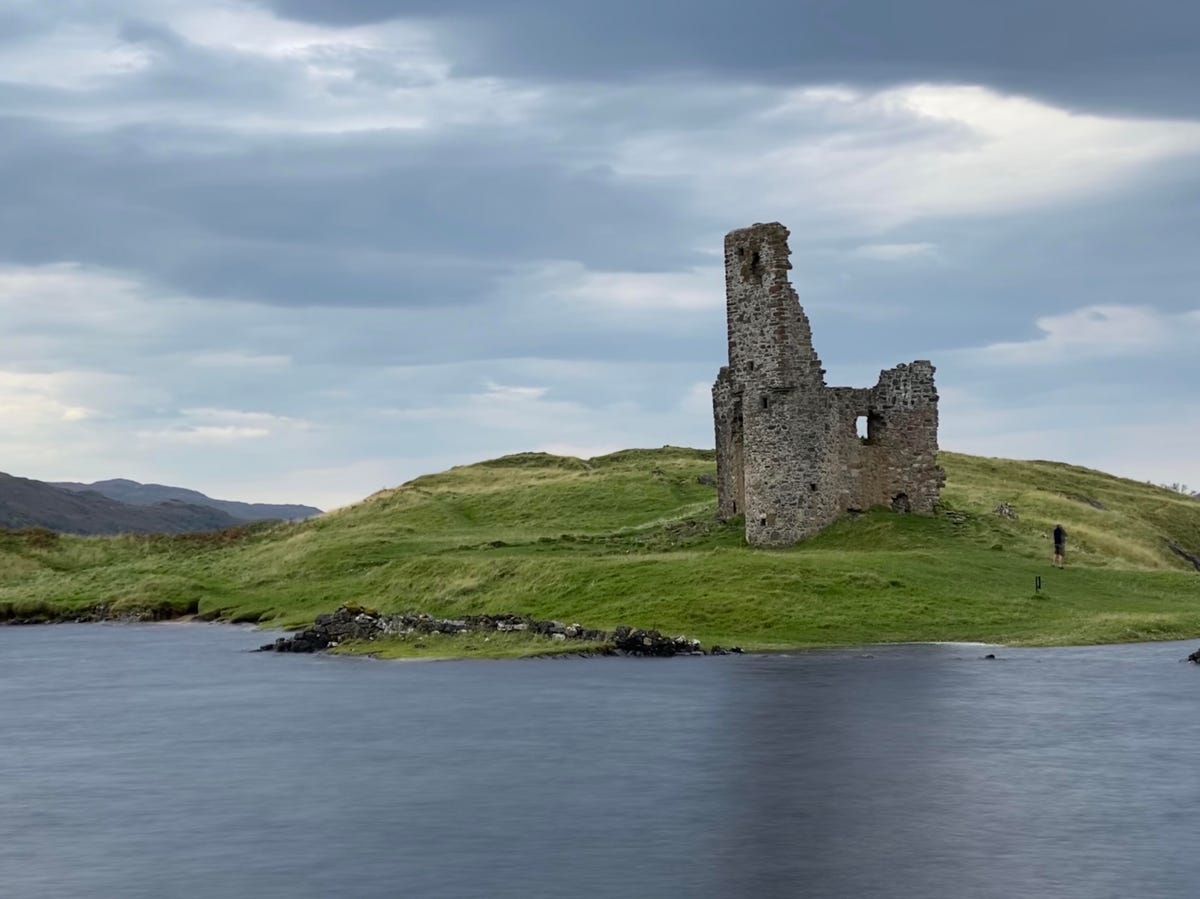
I didn’t intend to make this shot a long exposure when I first took it, but because it was a Live photo, I was able to go back later and turn the long-exposure mode on.
Check your library
Before you dash out to find your nearest waterfall, have a look through your library to see if you already have images that would work. The great thing about using the iPhone’s long-exposure tool is that you don’t need to use it while you’re shooting. You can go back and apply it to any Live image you’ve taken up until now.
Perhaps you visited Niagara Falls in New York or Havasu Falls in Arizona a few years ago and you happened to have had Live Photos activated when taking your shots. You can swipe up and activate long exposure on any of those shots. You can even go into your Live Photos album in your gallery to see all the shots you’ve got on your phone that can be transformed into long exposures. My advice? Put a good podcast on, settle into a comfy chair and see what dreamy shots you can dig out of your library.
I Took 600+ Photos With the iPhone 15 Pro and Pro Max. Look at My Favorites
Watch this: We Revisit the iPhone 15 Pro Max, 7 Months After Its Launch
08:55