Kris Carlon / Android Authority
As the saying goes, “show, don’t tell,” and nothing illustrates this better than a screen recording on your computer. When you’re trying to explain something to someone, it’s better to make a screen recording instead of typing pages of instructions that might not even be understood in the end. If you have a MacBook, you can easily record your screen.
Read more: Apple MacBook Pro (2021) review
QUICK ANSWER
To make a screen recording on a MacBook, use either the built-in QuickTime app, or OBS Studio. However, QuickTime is by far the easiest option and will be the one we are recommending here. OBS Studio is very glitchy for anyone looking for quick and easy screen recordings.
How to record your screen on a MacBook using QuickTime
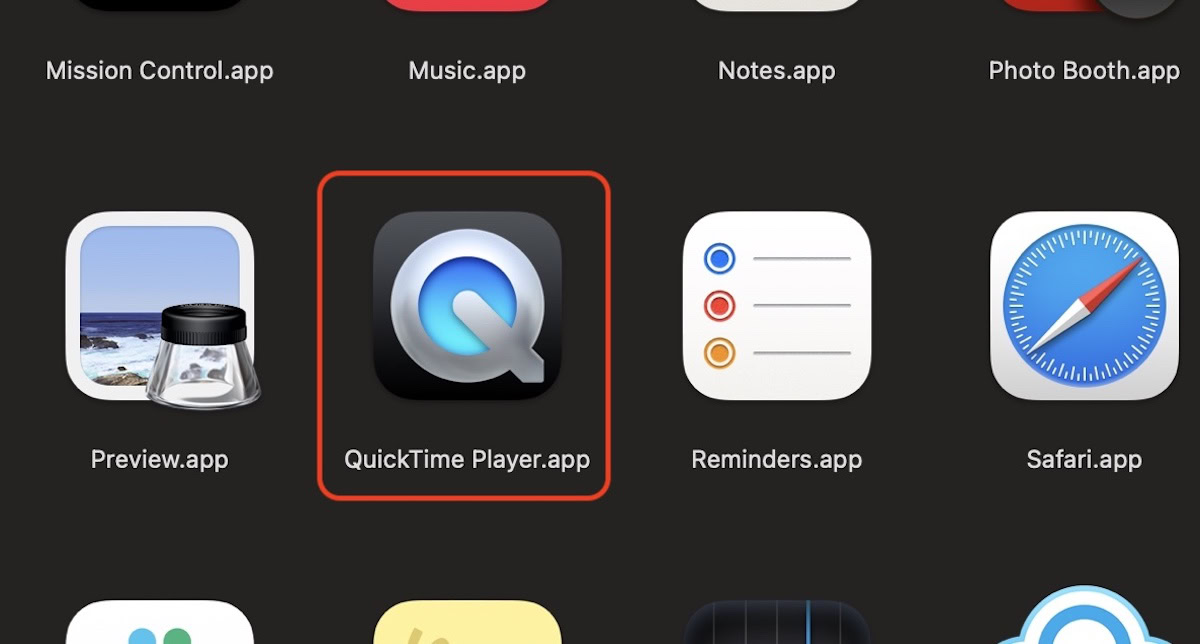
To record your MacBook screen with QuickTime, go to your Applications folder and double-click the QuickTime Player icon.
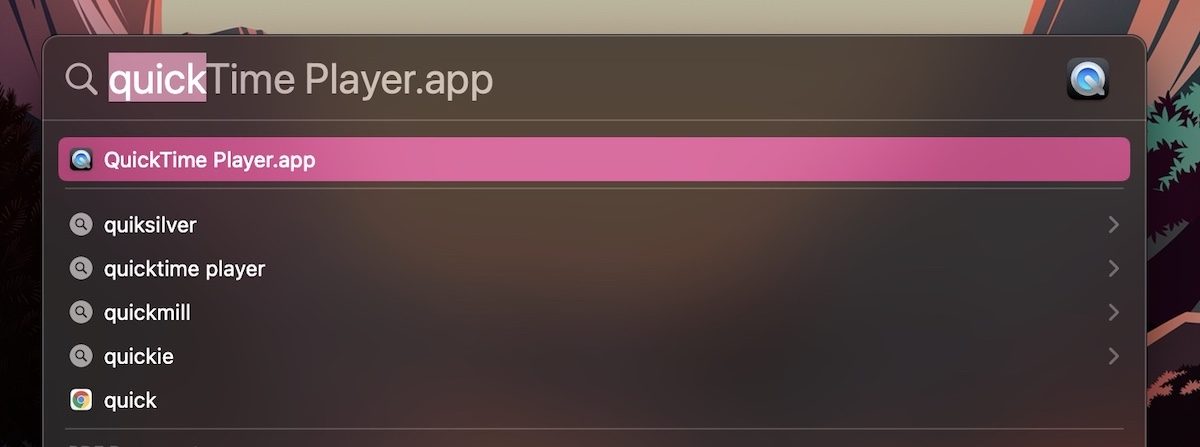
Alternatively, launch Spotlight, start typing in QuickTime, and hit Enter.
The QuickTime icon will now appear in the Dock. Right-click on it and select New Screen Recording.
A window with a dotted line border will now appear on your screen. Inside this screen will be everything captured in your screen recording. Resize the window to how big you want it to be. Alternatively, there is an option to capture the entire screen. We’ll mention that again in a moment.
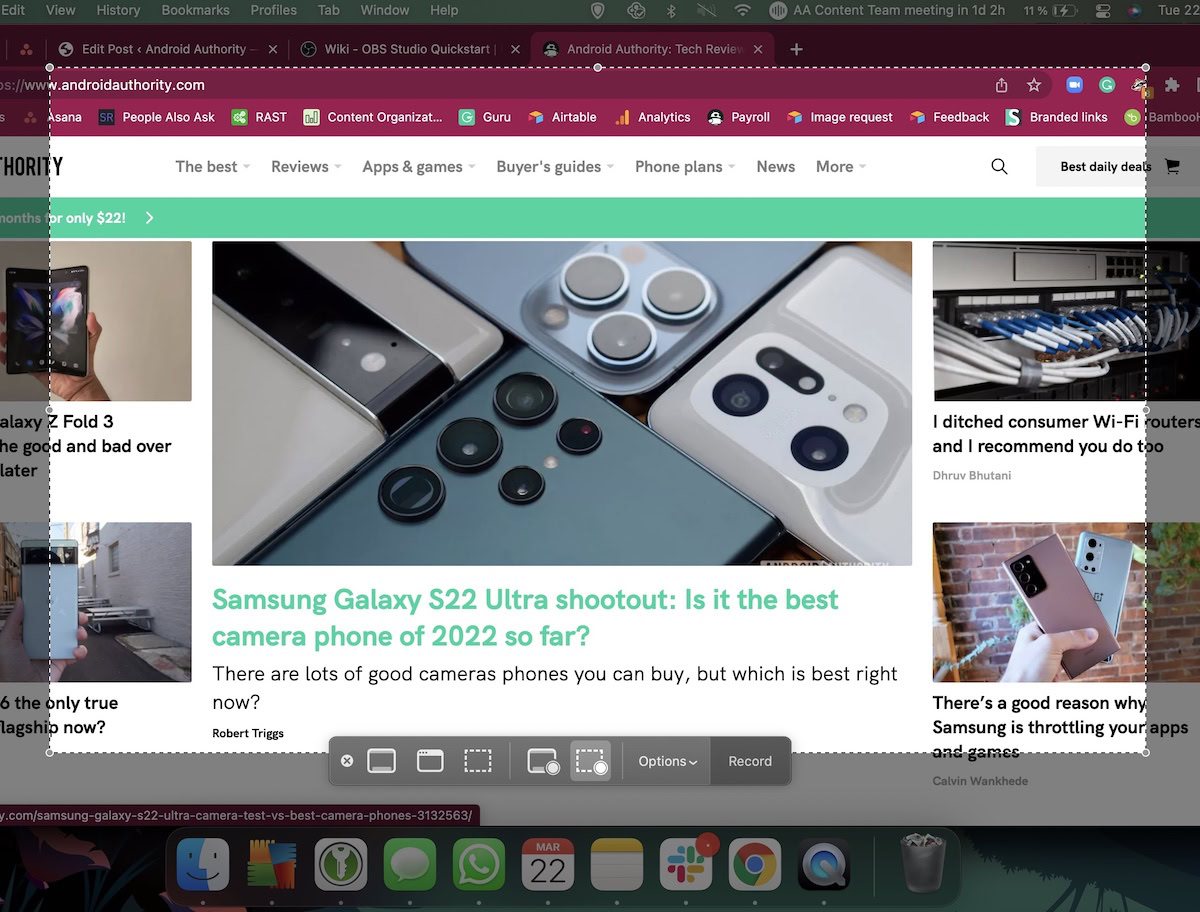
On the floating bar, click Options and you’ll see various things that can be configured before you start. This includes the location of your saved screen recording, the audio location (if you want audio), whether or not you want a timer, and a few other options.
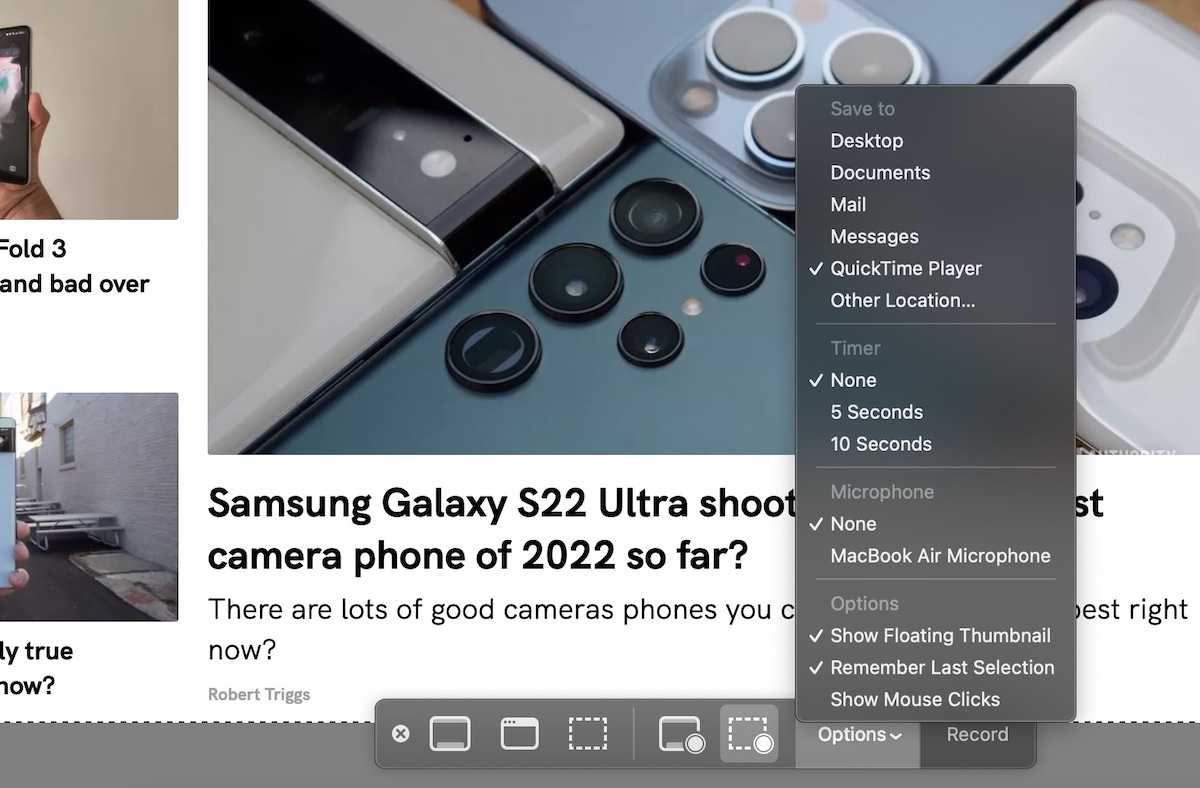
There’s one more thing before you start. You can either record using the window on the screen or you can go full-screen. Choose the one you want. When you’re ready, click Record.

When you’re finished, stop the recording and the MOV file will be saved to the location specified in QuickTime’s options. MOV files tend to be quite big, so you may want to convert them to an MP4 file for easier sending or uploading. One good free tool for this is Handbrake.
Read more: Want an Apple laptop? Here are the best you can buy right now


