Top 8 Things to Do With Your New iPhone 13 or iPhone 14
<!–
–>
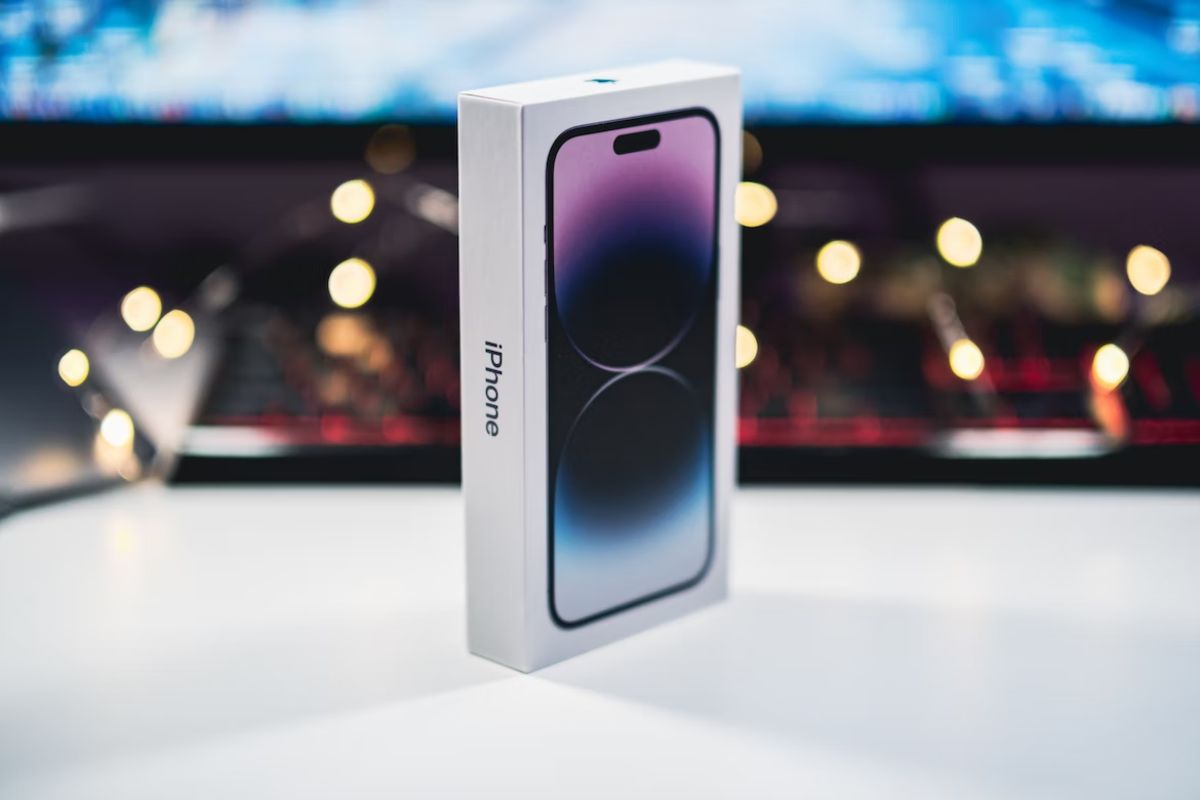

Got a new iPhone 13 or iPhone 14 this holiday season or as a Christmas gift? Doesn’t it feel refreshing to switch to a new iPhone? But are you overwhelmed by all the features and upgrades? If you’re looking to better adapt to your new iPhone and get the most out of it, follow our guide on the first 8 things you should do with your new iPhone 13 or iPhone 14.
1. Setup Your iPhone and Transfer Your Data
Switching from an older iPhone to a newer iPhone is seamless. An internet connection (Wi-Fi or Cellular), your Apple ID and password, and credit or debit card information (if you plan on setting up Apple Pay) are all the details you need to set up a new iPhone. Also, remember to take a backup of your older iPhone to iCloud to transfer all the data to the new iPhone.
Once you’ve done that, you can transfer all your data automatically using Quick Start if your device runs on iOS 11 or later. Moreover, if both devices support iOS 12.4 and above, you can wirelessly transfer your data. Keep both devices connected to a power source and beside each other until the process is completed.
After you’ve set up a passcode for your new iPhone, make sure to enable and set up Face ID. If you still need more help, refer to our detailed guide on transferring data from an older iPhone to a new iPhone. For those who finally took the leap of faith and decided to switch to an iPhone from Android, we have a guide to help transfer your data from Android to iPhone.
2. Know All the Features
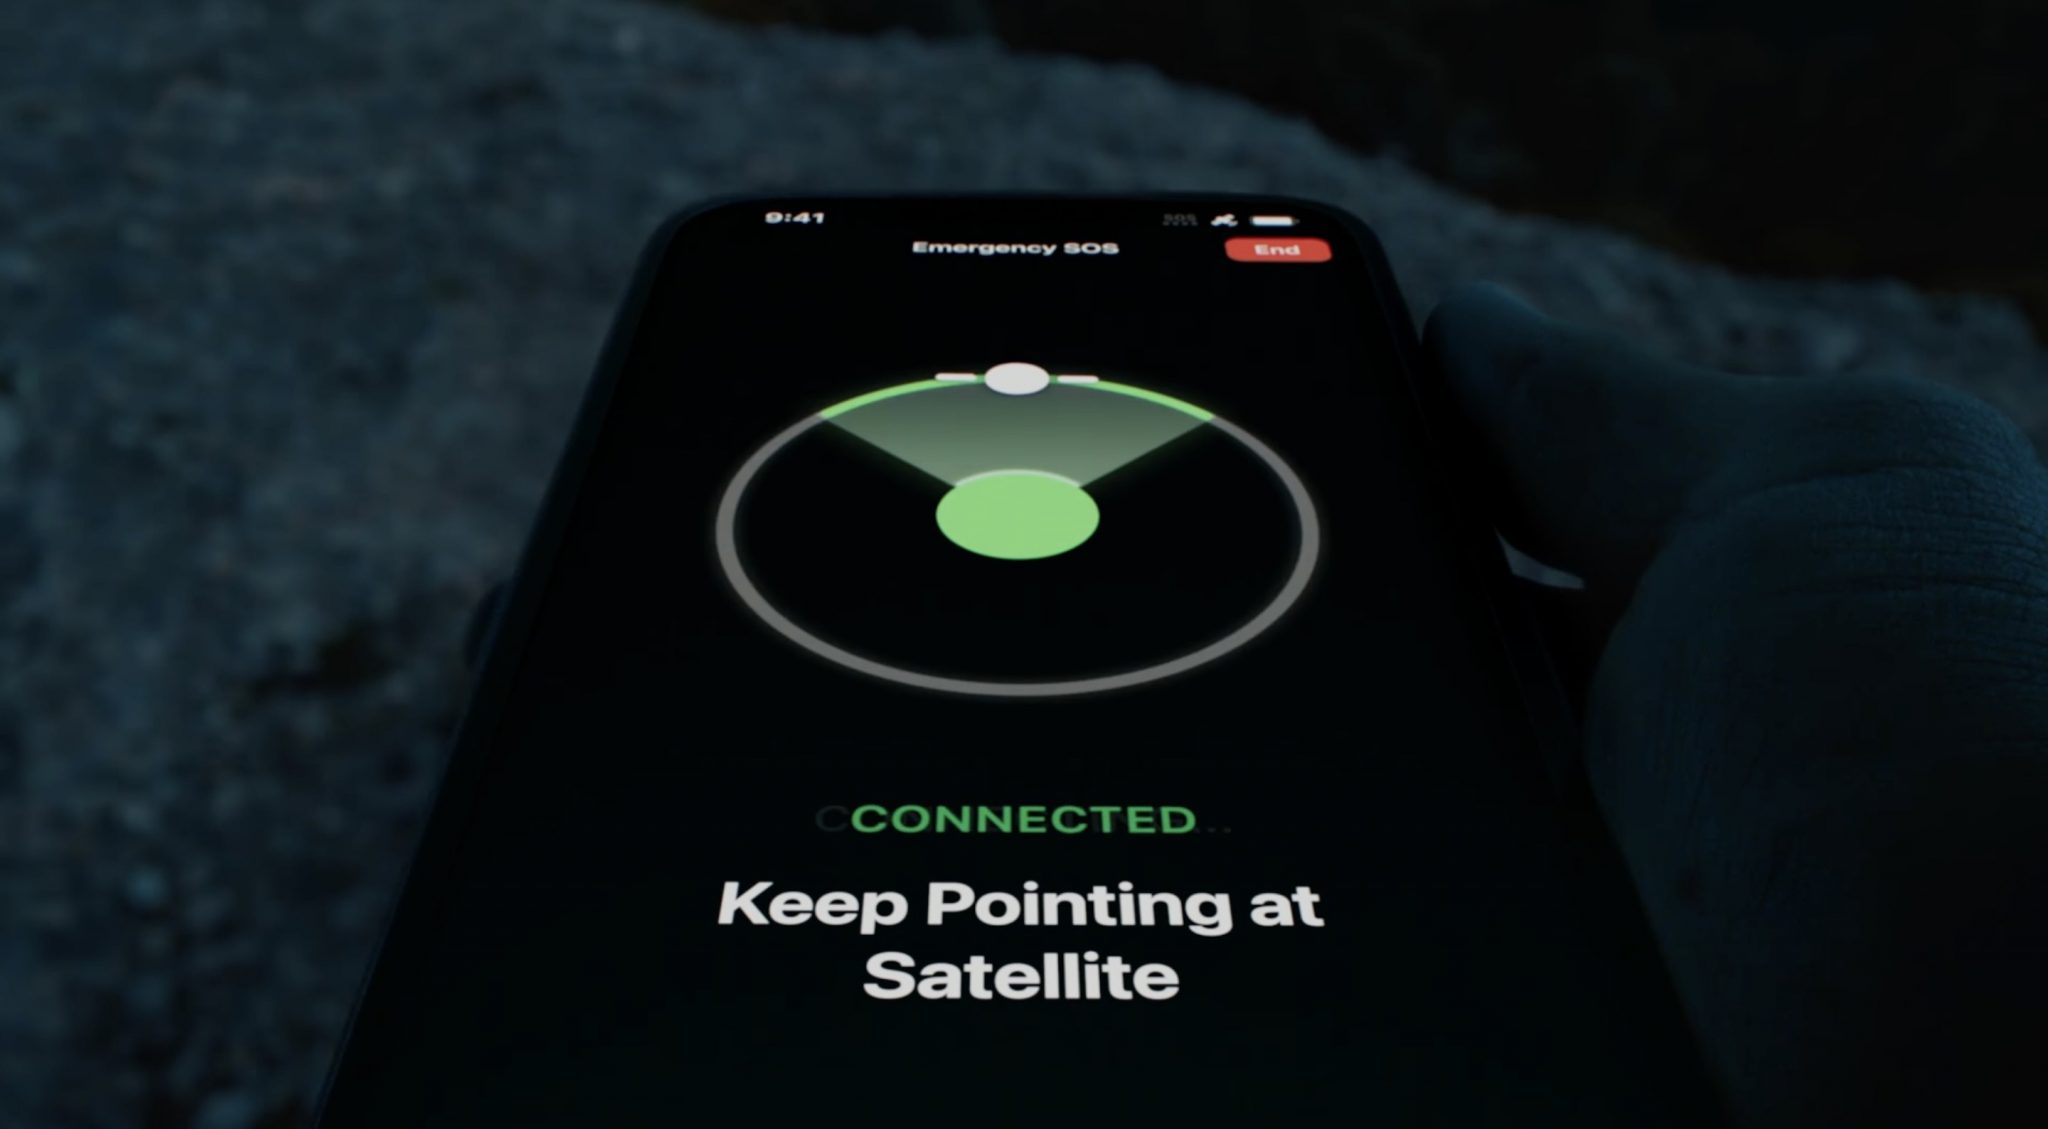

If you’re a long-time iPhone user, you know that every new iPhone generation comes with incremental upgrades. If you happen to upgrade every year, you won’t notice that big a difference. However, Apple’s software support is unmatched, which helps people hold on to their devices for longer, and eliminates the need to upgrade every year.
The devices in the iPhone 13 and iPhone 14 series are loaded with features. User’s who have upgraded to a new iPhone from this series after holding on to an older iPhone for several years can find the feature set to be a little overwhelming. To make things easier, check out our guides on the best iPhone 13 tips and tricks and the best iPhone 14 tips and tricks to get the most out of your newly unboxed devices.
3. Install Necessary Applications
There is no doubt that Apple offers a robust set of first-party applications. Once you’ve set up your iPhone, most essential apps are preloaded onto the device. But I’m sure you’ll have a separate list of apps like Spotify, YouTube, Gmail, etc., that you’ll install from the App Store.
Once you’ve done that, take a look at our guide on the best app to install on iPhone, as it has some invaluable apps like Carrot Weather, Fantastical, Todoist, etc. Moreover, since you cannot set a live wallpaper on iPhones running on iOS 16, you can check out the “Live Wallpapers for Me” app, which will let you set a live wallpaper for free. Also, the Widgetsmith app can help you customize your Lock Screen on iOS 16.
4. Camera Tips and Tricks
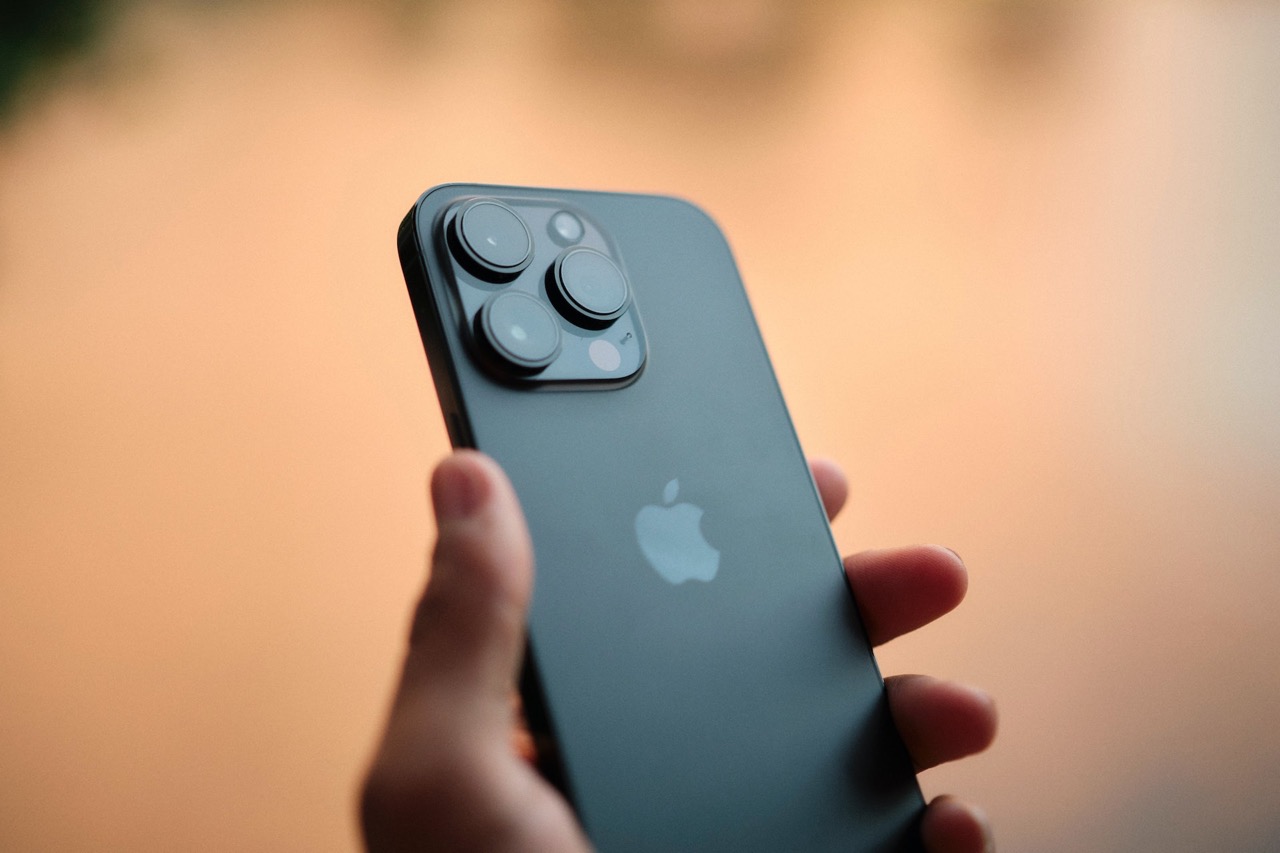

The iPhone 14 series, especially the Pro models, have received a significant upgrade to their camera hardware. Apple has finally moved on from its beloved 12MP sensor to a 48MP sensor, and the difference in image and video quality is quite noticeable. But by no means are the cameras on the iPhone 13 series any less than the iPhone 14 series.
Both devices are packed with features like Cinematic mode, ProRes video, Macro mode, etc. The iPhone 14 series has advantages in terms of higher resolution ProRes Video, 48MP ProRaw Photos, etc. If you’d like to learn more than just the names of these features, then refer to our guide on the best iPhone camera tips and tricks.
5. Buy a Case
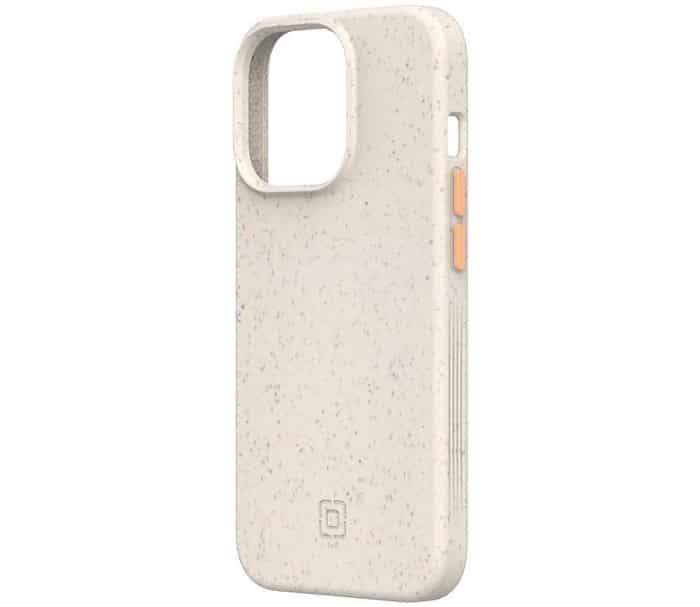

I’m sure you love how gorgeous your new iPhone looks. Since your new iPhone features a glass back, it is prone to scratches or even break if you mistakenly drop it. The cost to replace the back panel will leave a dent in your wallet. The only way to prevent such an atrocity is to get a back cover or case that will protect your iPhone from scratches or in case you drop it.
Besides, you can check out MagSafe-compatible cases and plenty of first and third-party cases support MagSafe. No matter what you’re looking for, there is something for everyone.
Don’t believe me? Check out our article on the best iPhone 13 and iPhone 13 Pro cases, and I’m sure you’ll find something that matches your taste. If not, leave a comment below, and I’ll help you pick one right away.
6. Apply a Screen Protector
Apple speaks highly of the Ceramic Shield glass on its iPhone’s screen. And it certainly is solid and durable. But, as we all know, glass is glass and is prone to break if you drop your iPhone. And God forbid if you drop it and crack the screen; it will cost a lot to replace.
So, why not save that money and invest it in a good-quality screen protector? It is better to spend 10 or 20 dollars on a screen protector than hundreds of dollars replacing your screen. As they say, better safe than sorry.
7. Know More About Your iPhone and iOS 16
As I said, the feature set can be overwhelming if you move from an older iPhone. There is a lot to learn, primarily because if you’re moving from an iPhone with a Home Button to a full-screen iPhone, you will also have to adapt to the new gesture navigation. With that said, to help you learn your new iPhone’s basic features and functionality, refer to some of the guides I’ve listed below.
While you might be familiar with iOS and won’t require to learn a lot about the operating system, several noteworthy changes require your attention. We have guides that list all these features; you should certainly check them out.
8. Get Apple Care+ or Insurance

If you didn’t take my advice on getting a case and screen protector and want to keep your iPhone for more than a couple of years, you should get AppleCare+ or at least some other insurance. Even if you have a case and screen protector, paying for AppleCare+ will hurt less than paying for a broken screen.
Apple has reduced the back glass repair costs on the iPhone 14 series and made it more repairable than its predecessors. However, replacing the back glass of an iPhone 14 will set you back $169, which is a costly undertaking. Whereas if you shatter the back glass of your iPhone 13, it’ll cost a whopping $349. Instead of paying so much, if you have an active AppleCare+ plan, it’ll only cost $29 for these repairs.
Also, if you get AppleCare+, you can claim up to two accidental damages in a year. Third-party insurance companies will also have attractive offers, but barely anything that’ll beat Apple’s two accidental claims offers. However, pick something that best suits your needs, but please have active insurance in place, just in case something goes wrong.
Enjoy Your New iPhone
Getting used to a new iPhone might take a few days. The new form factor, boxy sides, or even the lack of a home button might feel weird initially, but give it a few days, and you’ll feel right at home with your new iPhone. If you have any doubts, leave them in the comments below.
Want to know more about Apple Products?
We launch new articles subscribe and get updated. MAX 1 email a week. No spam, ever.
You May Also Like
Want to know more about apple Products
We launch new articles subscribe and get updated. MAX 1 email a week. No spam, ever.
