Andrew Grush / Android Authority
Starlink has changed the game for many of us in remote areas, giving us a true high-speed internet service that blows past every other satellite internet provider out there. The biggest downside is it doesn’t come cheap. We’re not just talking about the $120 or more you’ll pay each month or even the $599 you’ll pay for Starlink Residential or Roam equipment. Did you know you also need to buy Starlink accessories to really make the most of the service?
Interestingly Starlink doesn’t advertise the need for accessories, or even their existence at all. To buy Starlink accessories, you’ll need to be signed in to a Starlink account first! While I’ve included links to everything, keep in mind they won’t go anywhere unless you’re already on a waiting list or have a Starlink dish heading your way.
Best Starlink mounts: Starlink dishes don’t include a mount in the box
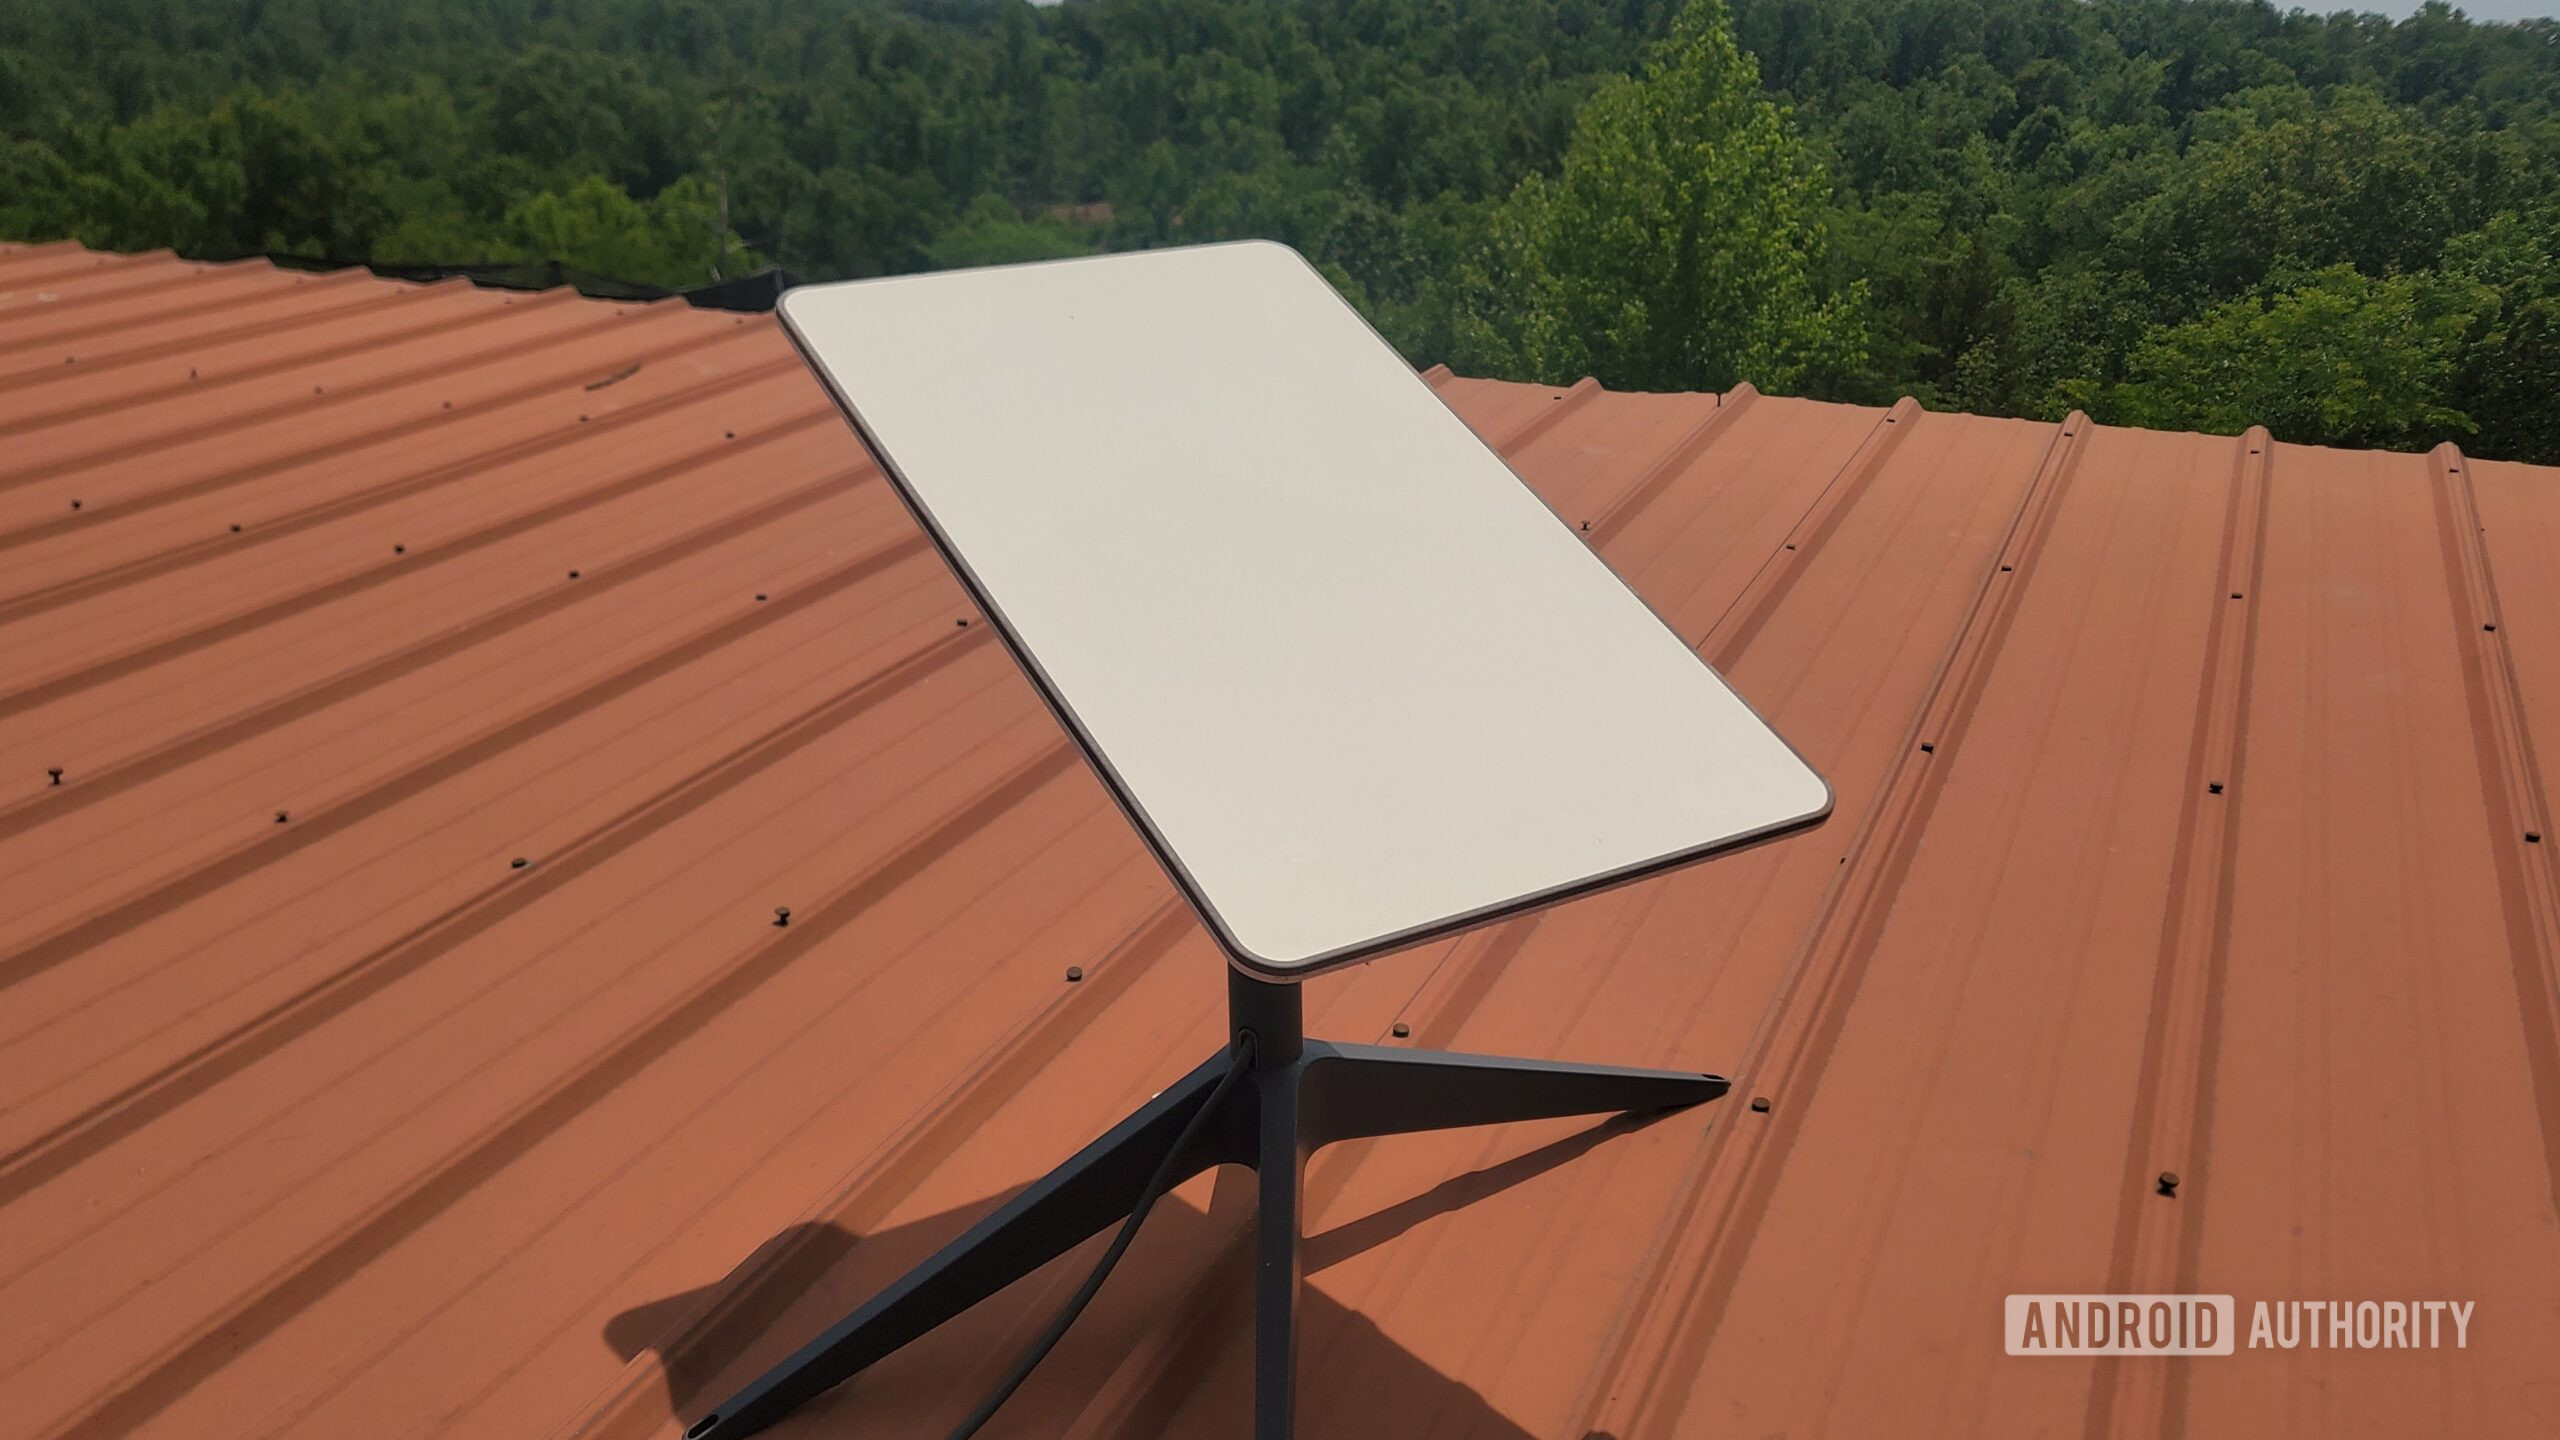
For $599, you get a dish, a basic router, and a 75-foot cable. If you have an older satellite, this cable was an ethernet jack, but now it’s attached to the dish with a special adapter for newcomers. There is a stand included, but it’s not mountable by default. It’s just a simple thing with legs you can set in the grass or on a flat surface. You can see what that looks like in the pic above.
To actually mount the satellite, you’ll want to either get an official Starlink accessory or go the DIY route. I already had a pole on my chimney that was used by a previous tenant to mount an antenna. All it took was some simple mounting brackets and a few other gizmos at the hardware store to slap my satellite securely onto it. I spent like $15 or so.
If you feel comfortable going this way, I recommend it. Starlink charges a hefty premium for its accessories. Of course, going DIY will mean taking a risk too.
If you are DIY-minded, that’s the cheapest way to get it done. Your exact costs or setup will vary depending on your location and whether you plan to mount to a pole, a roof, or maybe a stand-alone garage. For those who aren’t comfortable with DIY, there are several official mounting Starlink accessories that get the job done.
Starlink Pivot Mount

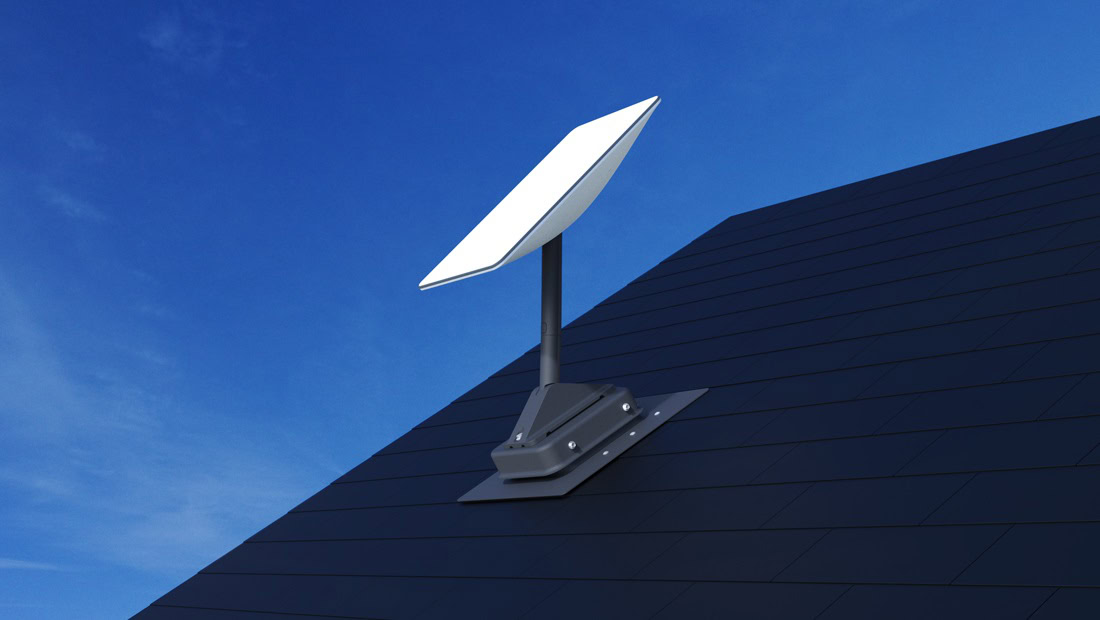
If you have a typical slanted roof, you’ll want the Starlink Pivote Mount for $42. This adjuster connecter is screwed down onto the roofing material, but you’ll need an extra adapter if you plan to install it onto metal shingles. The flashing mount adapter will set you back an additional $59.
Starlink Ground Pole Mount

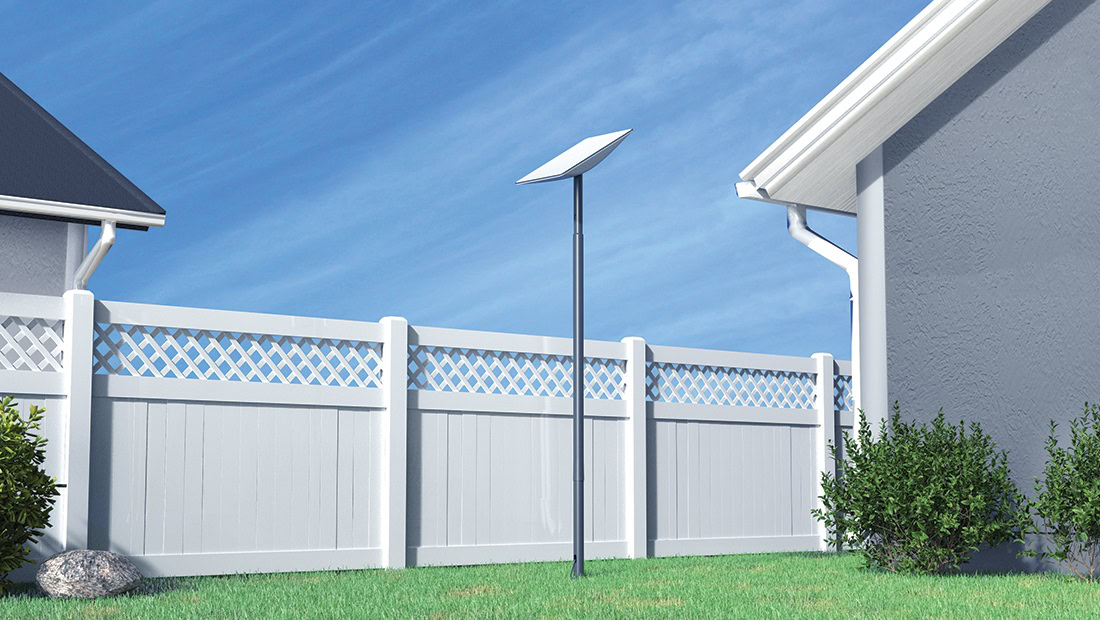
Don’t want to mount it onto your roof? The Starlink Ground Pole Mount lets you get the dish above basic obstructions but won’t be suitable if you live in an area with a ton of tall trees. This is also the hardest solution to implement, as you’ll have to dig a hole and mix concrete. In this case, you can likely find a pole from a hardware store for less than the $55 that Starlink will charge you for this. And no, it doesn’t come with concrete mix, either.
Starlink Ridgeline Mount

The ridgeline mount is a no-drill solution designed for roof ridgelines. It uses a weighted design to keep the satellite safely in place and is extremely easy to set up. That’s probably also the reason why Starlink is charging $250 for it. That’s a lot for a mount, but it’s cheaper than improperly setting up your dish so it ends up taking on damage during a storm or times of heavy wind.
Starlink Short Wall and Long Wall Mounts

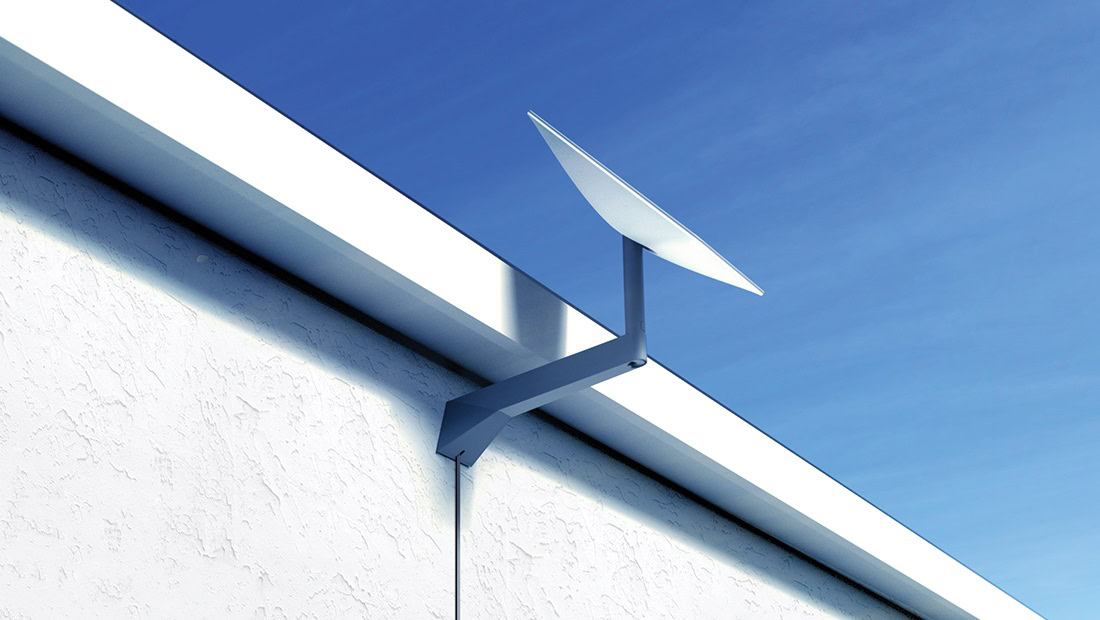
Starlink wall mounts are perfect if you’d rather attach your dish to the side of your house or an outbuilding. The shorter wall mount is $40, but there’s a longer-armed model for $48 as well. Wall mounts are probably some of the easiest mounts outside the ridgeline model. They are also the most affordable choices.
Other accessories that will help with setting up your dish
Of course, you might also want a simple pipe adapter ($37) if you have an existing solution and don’t want to go to the hardware store for a DIY option. There are also extras like a cable routing kit ($26) and a masonry routing kit ($37). Again just remember you can get most of this stuff for cheaper from the hardware store, but you won’t get any step-by-step instructions, and you’ll likely have to solve a few problems along the way.
Don’t forget extra cables and an Ethernet adapter
The mount isn’t the only thing you’ll need to pay extra for. Early round Starlink dishes were a bit more flexible thanks to an actual ethernet adapter that made it easy to replace cables. It was also super easy to substitute Starlink’s router for your own. That’s not the case for Square dish owners. This updated dish ditches the ethernet port and uses end-to-end USB-C.
To get a properly fitting cable, you’ll have to go the official route. The 75-foot cord replacement is $64, while the 150-foot model will cost a staggering $93. With some DIY effort, you could possibly convert a cheaper USB-C cable and use it instead, but we wouldn’t recommend this. Starlink built this cable to fit and work with its dish, and using 3rd party cables could cause problems that might affect your warranty.


